Quixel Mixer is fairly new to the Texture Painting market. But as a free and easy to use Software, it’s a great way to add simple Texture painting to your portfolio and enhance your 3D models. In this post, I will show you how to add thousands of free Brushes to your Mixer Library and you can even reuse these brushes in Fusion, as I explain here.
I have also created a free brush pack which you can download here.

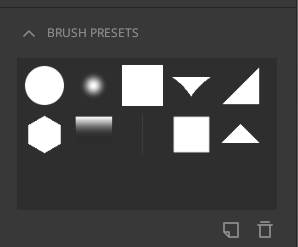
When you use Mixer, you will quickly realize, there aren’t that many brushes available. To be more precise, the brushes available are very basic and not enough for serious texture painting. Looking at the integrated Megascans Library, you will be bombarded with different Assets (including brushes), but they all cost credits.
Fortunately, it’s quite easy to import your own brushes. And since Quixel Mixer uses Greyscale images as brushes, you can quickly create and import your own custom brushes for free. Or use the ones available for other Applications. This will quickly give you access to thousands of free brush patterns that are available in the other softwares you are using or brushes available online.
Page Contents
Create custom brushes for Quixel Mixer
First you will need any kind of drawing or photo manipulation software. I am using Affinity Photo for this. But you can use Adobe Photoshop, the free Gimp, or even Microsoft Paint could be used.
Create a new project. It is important to have a 1×1 aspect ratio. Otherwise your brushes will import stretched. You can choose your own resolution. I often use 800×800. This is probably a big resolution for a brush, but so far I haven’t noticed bad performance and the quality of the brushes was good.
Now it’s time to actually start creating.
Add a new black solid layer as the background. Add another layer. This is where we will create the actual brush design.
If you’re like me and need texture brushes then you can head into the brush sections of your software and choose an appropriate brush type. Depending on your software you might want to increase the spacing between brush prints as we will need a clear representation of a single brush pattern.

I have chosen a splattered brush pattern. I change my paint color to white, then I simply click into the middle of my image once (maybe several times depending on the brush and what I need).
Remember that your background has to be black and your brush pattern has to be white!
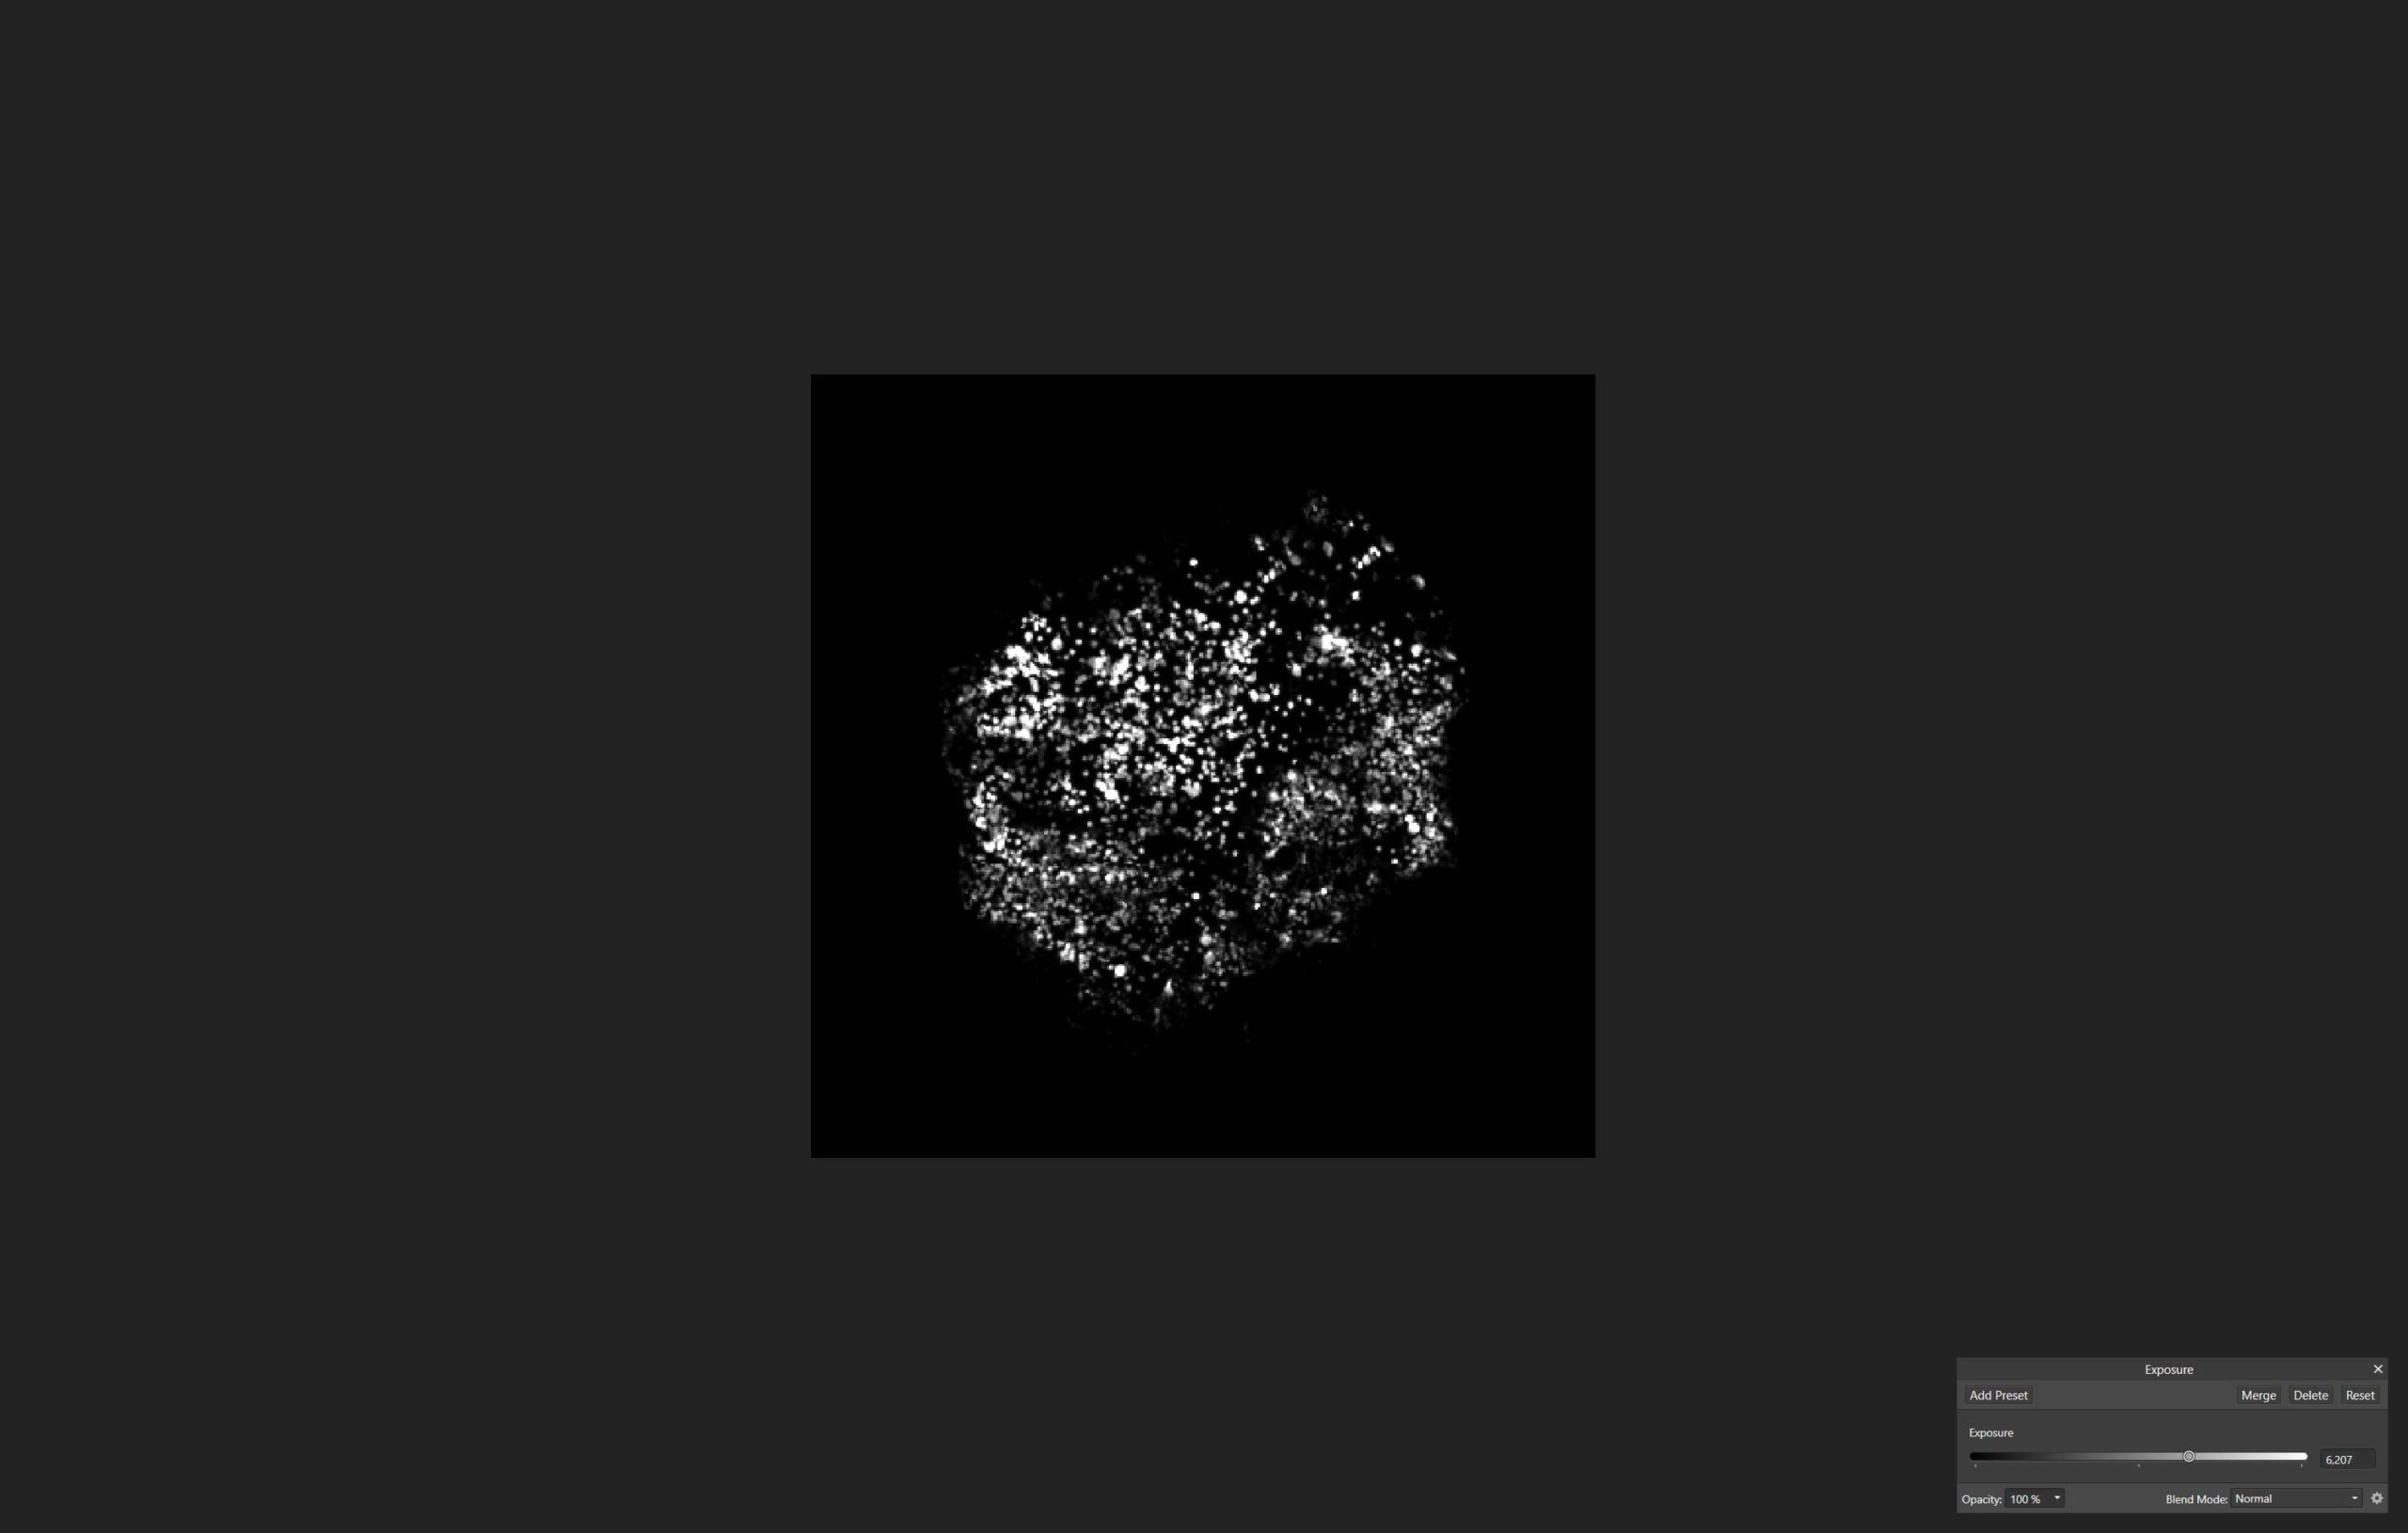
You might want to increase the contrast if your brush is very soft. But this is something you have to try out for each individual brush.
Now we simply need to export it as an image. I have used jpeg as Mixer struggled with the pngs. And this is literally all. Save the image somewhere you will remember. Preferably where you save all your brushes or if it is project-specific in the project folders.
You can create all kinds of brushes like this. Create a Text to print letters or a logo on your 3D model. Use shapes to create geometric patterns, or use existing brushes from your photo or drawing application.
Import custom brushes into Quixel Mixer
Importing custom brushes into Quixel Mixer is very easy.
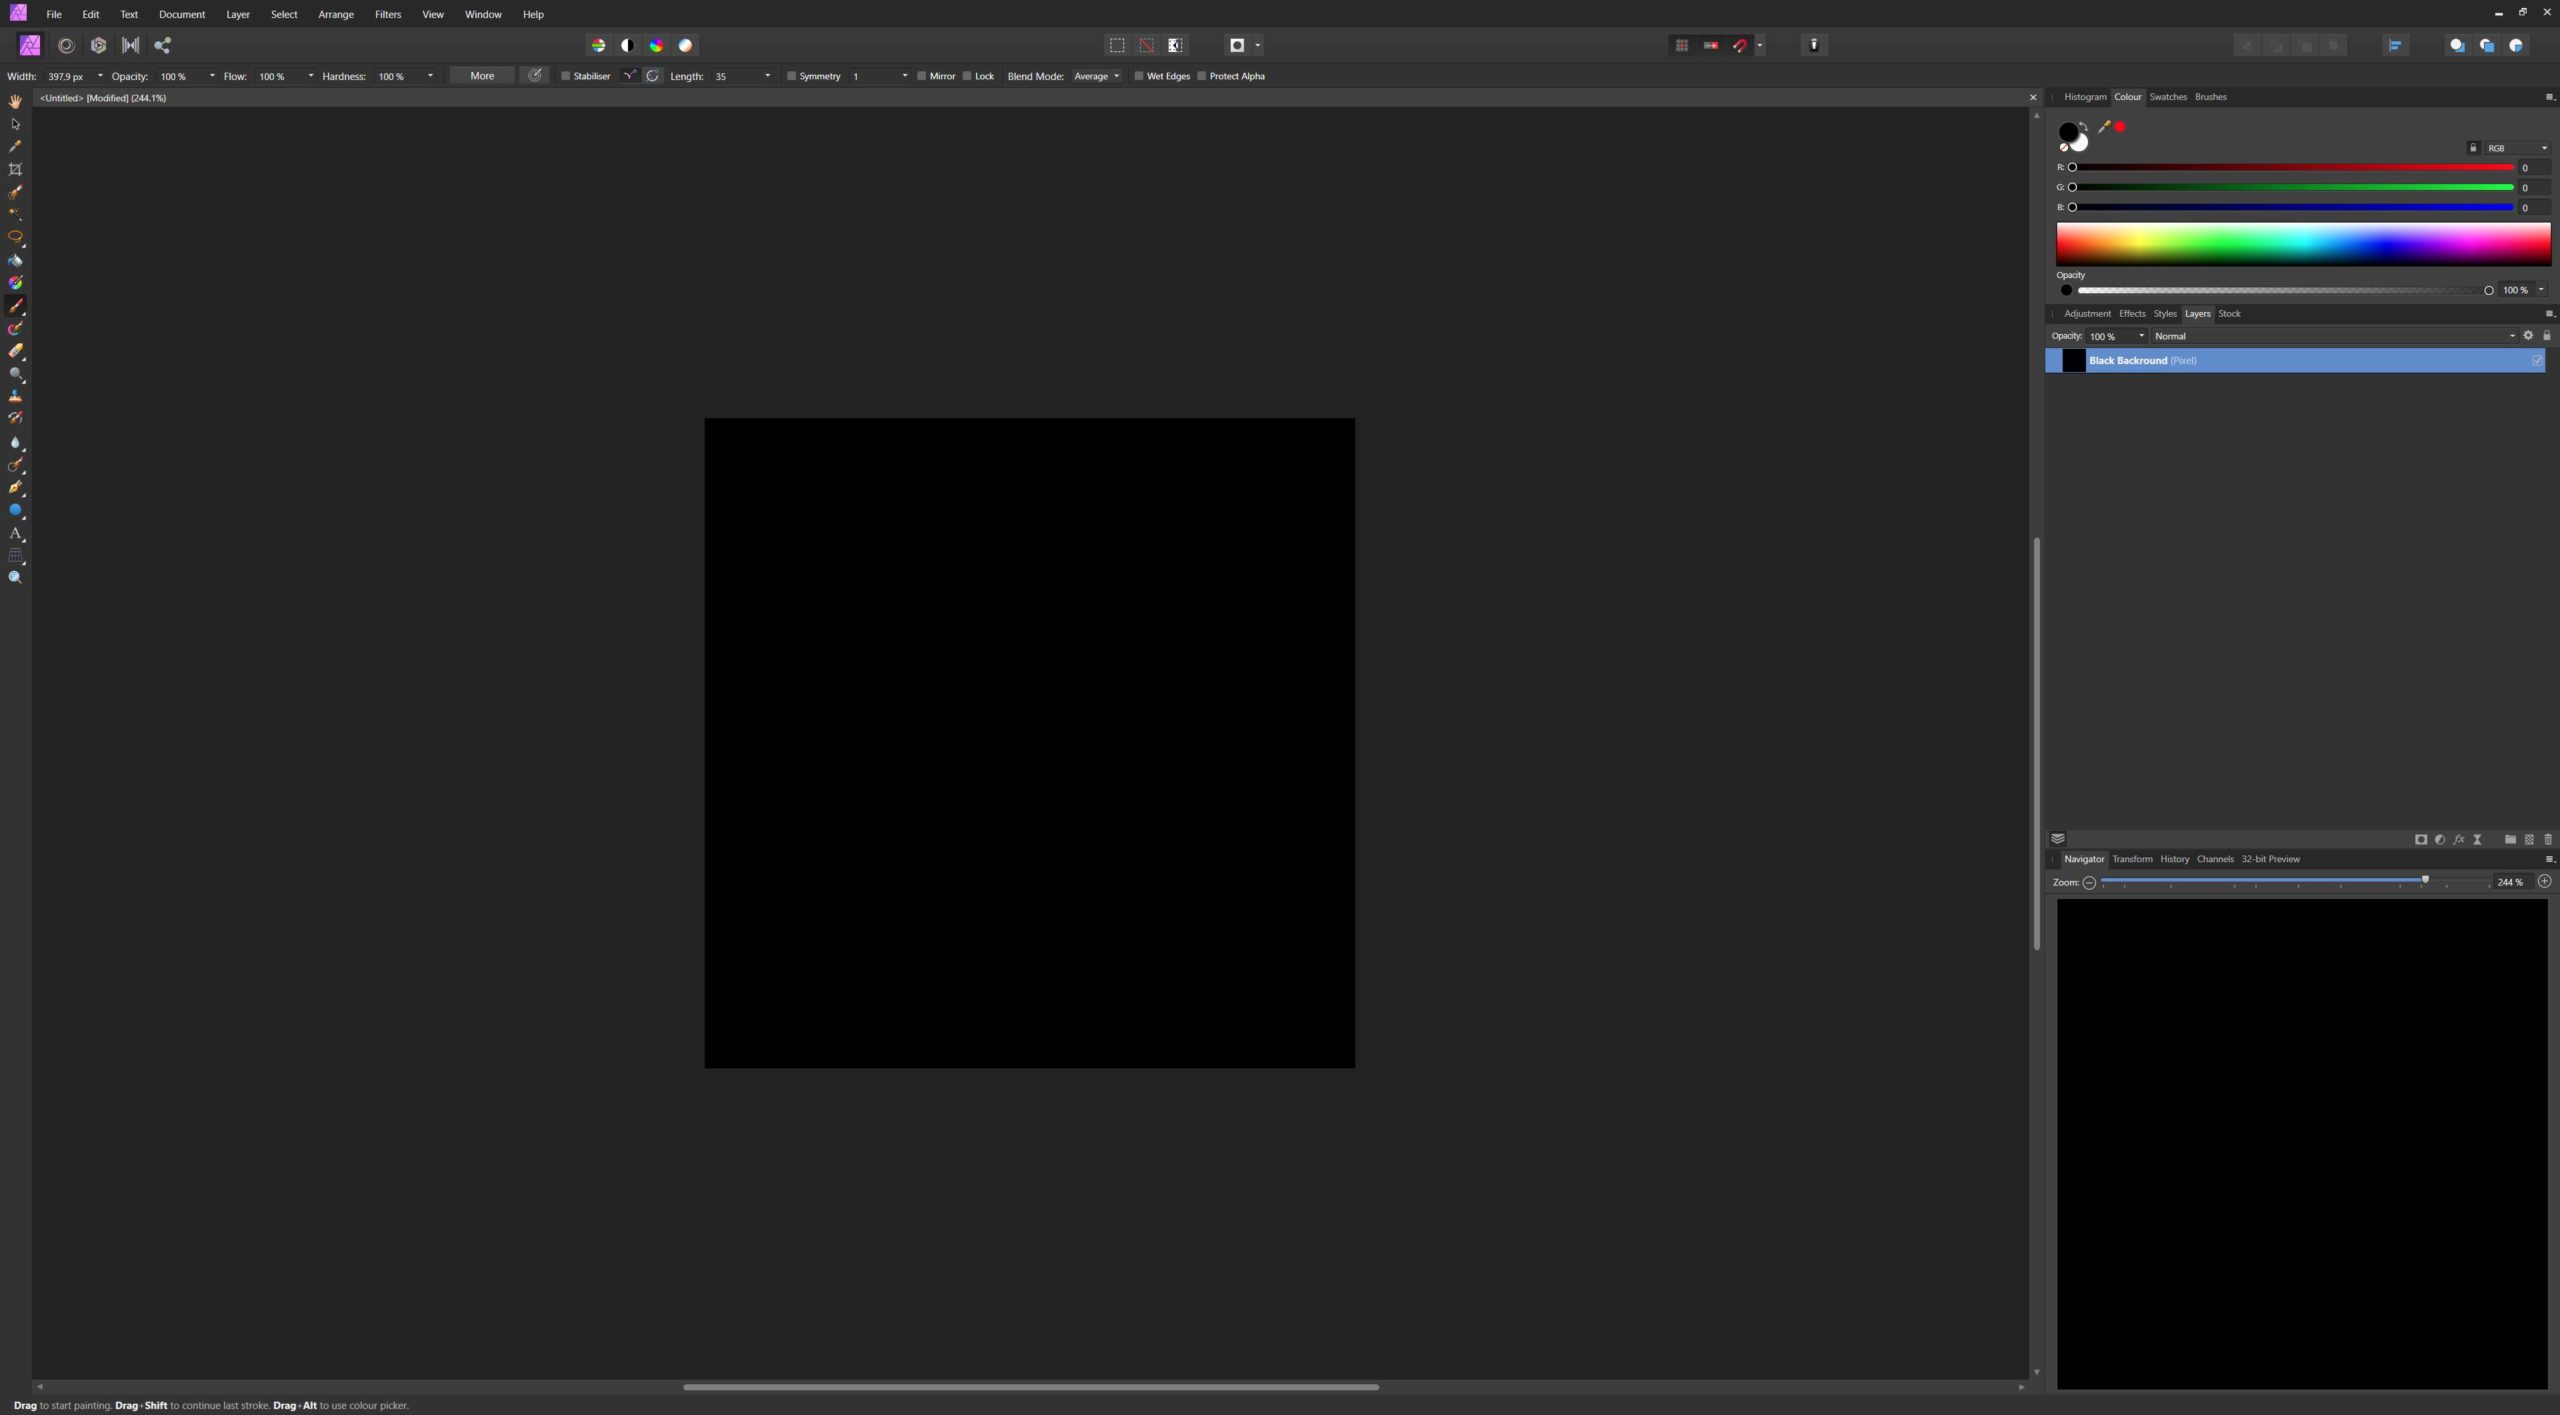
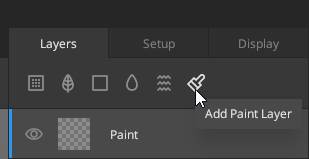
In Quixel Mixer, you will need to create a new project or open an existing one. Click in a Paint Layer or create one.

This way the Brush Settings will become visible on the left side. Here you will see the (few) available Brush Presets and you have some settings available for the brushes.
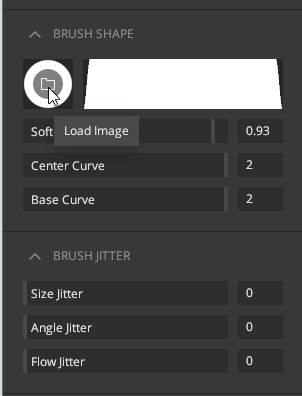
In the Brush Settings, down under Brush Shape click on the small rectangle showing your current brush. This will open your file browser. Select the grey-scale image you have created before (or downloaded from the internet).
Now your brush should take the shape of your imported pattern. You can already start drawing with your own custom brush.

For a brush like this you will want to increase the Spacing in the Brush Settings. This way you will get individual dots instead of a smear.

If you know you will only need this brush once, or only for this project, then you can leave it at that. Remember you can always reload this brush quickly.
If you want to use the brush for several projects without having to manually reload it, you can simply press the Save Brush Button below the Brush Presets.
And this is all. As you have seen, creating and importing custom brushes into Quixel Mixer is quick and easy. You can use what I have showed you to fill your custom brush Library fo Quixel Mixer and have better brushes available to paint textures.
Remember that every software that supports image based brushes can use your custom created ones. This includes Blackmagic design Fusion.
