You will often use the painting tools in Fusion, to create masks, remove unwanted objects, or to create shapes for Motion Graphics. But there aren’t many brushes available from the start and sometimes you will need a brush like pencil strokes or spray paint. This is why it’s important to know how to create your own brushes and how to import existing ones into Fusion.
You can download a free brush pack here.
Page Contents
Create custom brushes for Fusion
First, you will need any kind of drawing or photo manipulation software. I am using Affinity Photo for this. But you can use Adobe Photoshop, the free Gimp, or even Microsoft Paint could be used. To be honest you could also use Fusion’s own Paint tool to create these.
Create a new project. It is important to have a 1×1 aspect ratio. Otherwise, your brushes will import stretched. You can choose your own resolution. I often use 800×800. This is probably a big resolution for a brush, but so far I haven’t noticed bad performance and the quality of the brushes was good.
Now it’s time to actually start creating.
Add a new layer. This is where we will create the actual brush design.
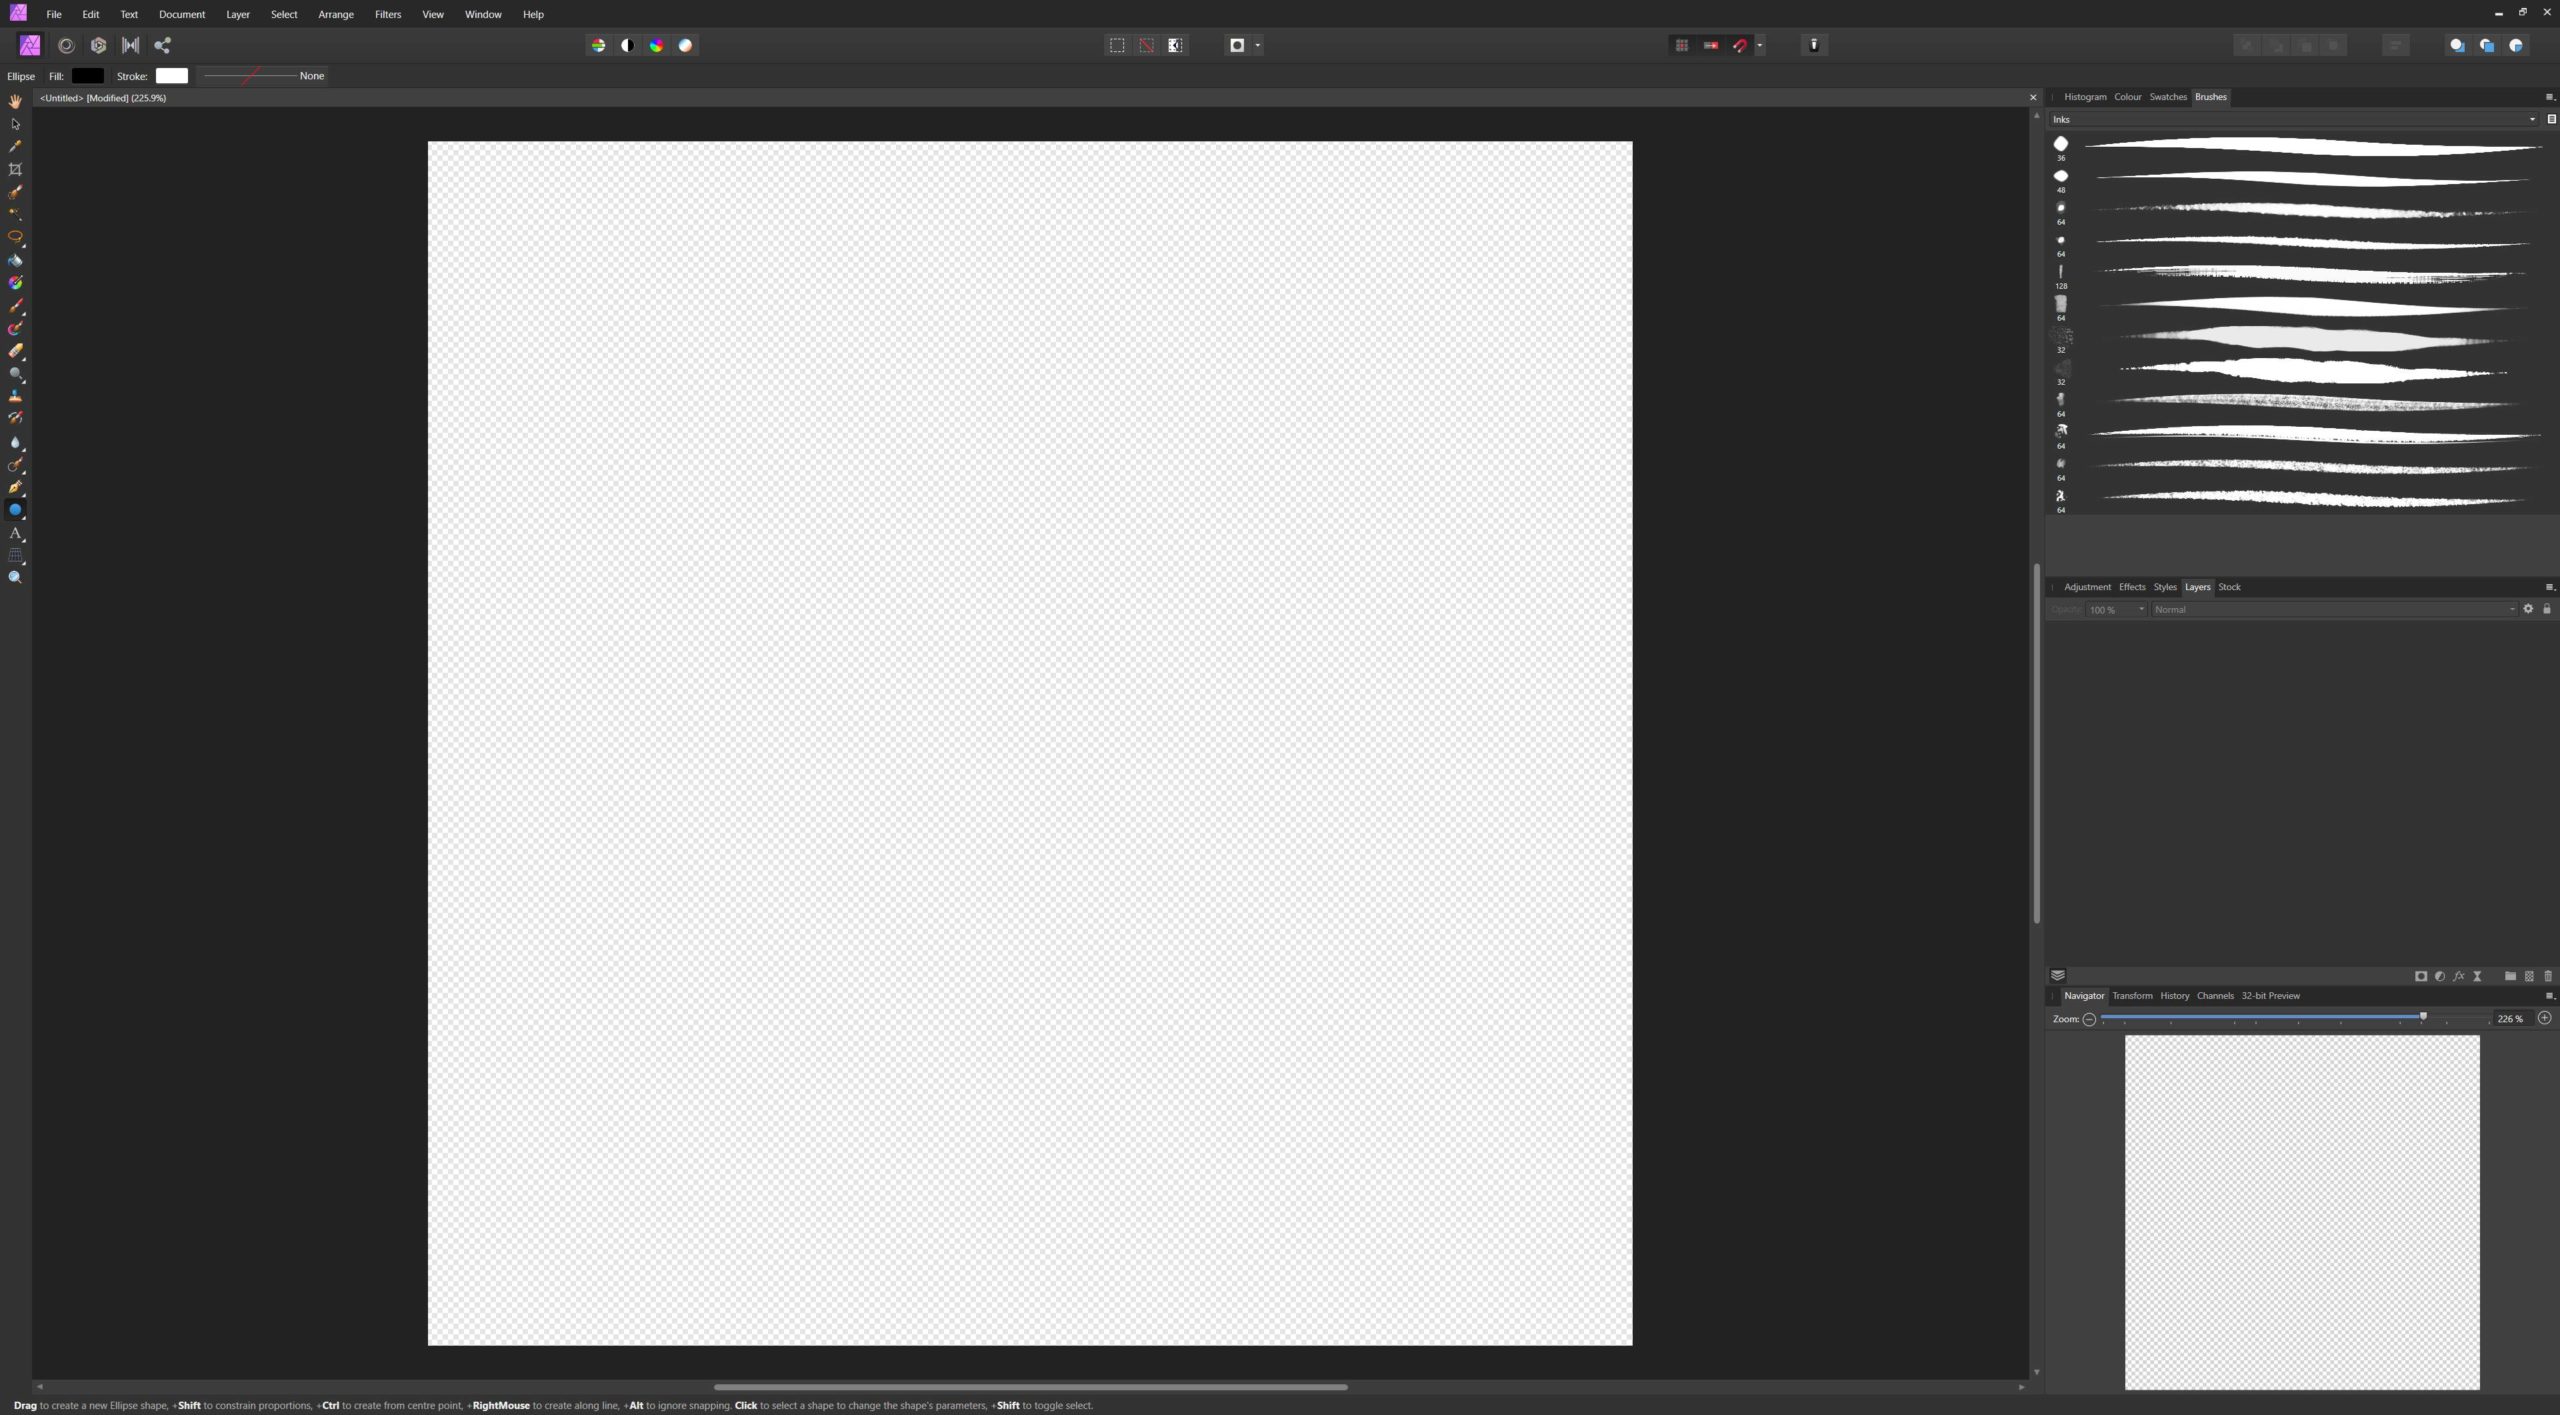
If you’re like me and need texture brushes then you can head into the brush sections of your software and choose an appropriate brush type. Depending on your software you might want to increase the spacing between brush prints as we will need a clear representation of a single brush pattern.

I have chosen a splattered brush pattern. I change my paint color to white, then I simply click into the middle of my image once (maybe several times depending on the brush and what I need).
Unlike Quixel Mixer brushes the background can either be black or transparent. I would advise a transparent background. I have only chosen a black one for this image, to better show the brush pattern.
And brushes in Fusion can be multi colored! Not just grey-scale!
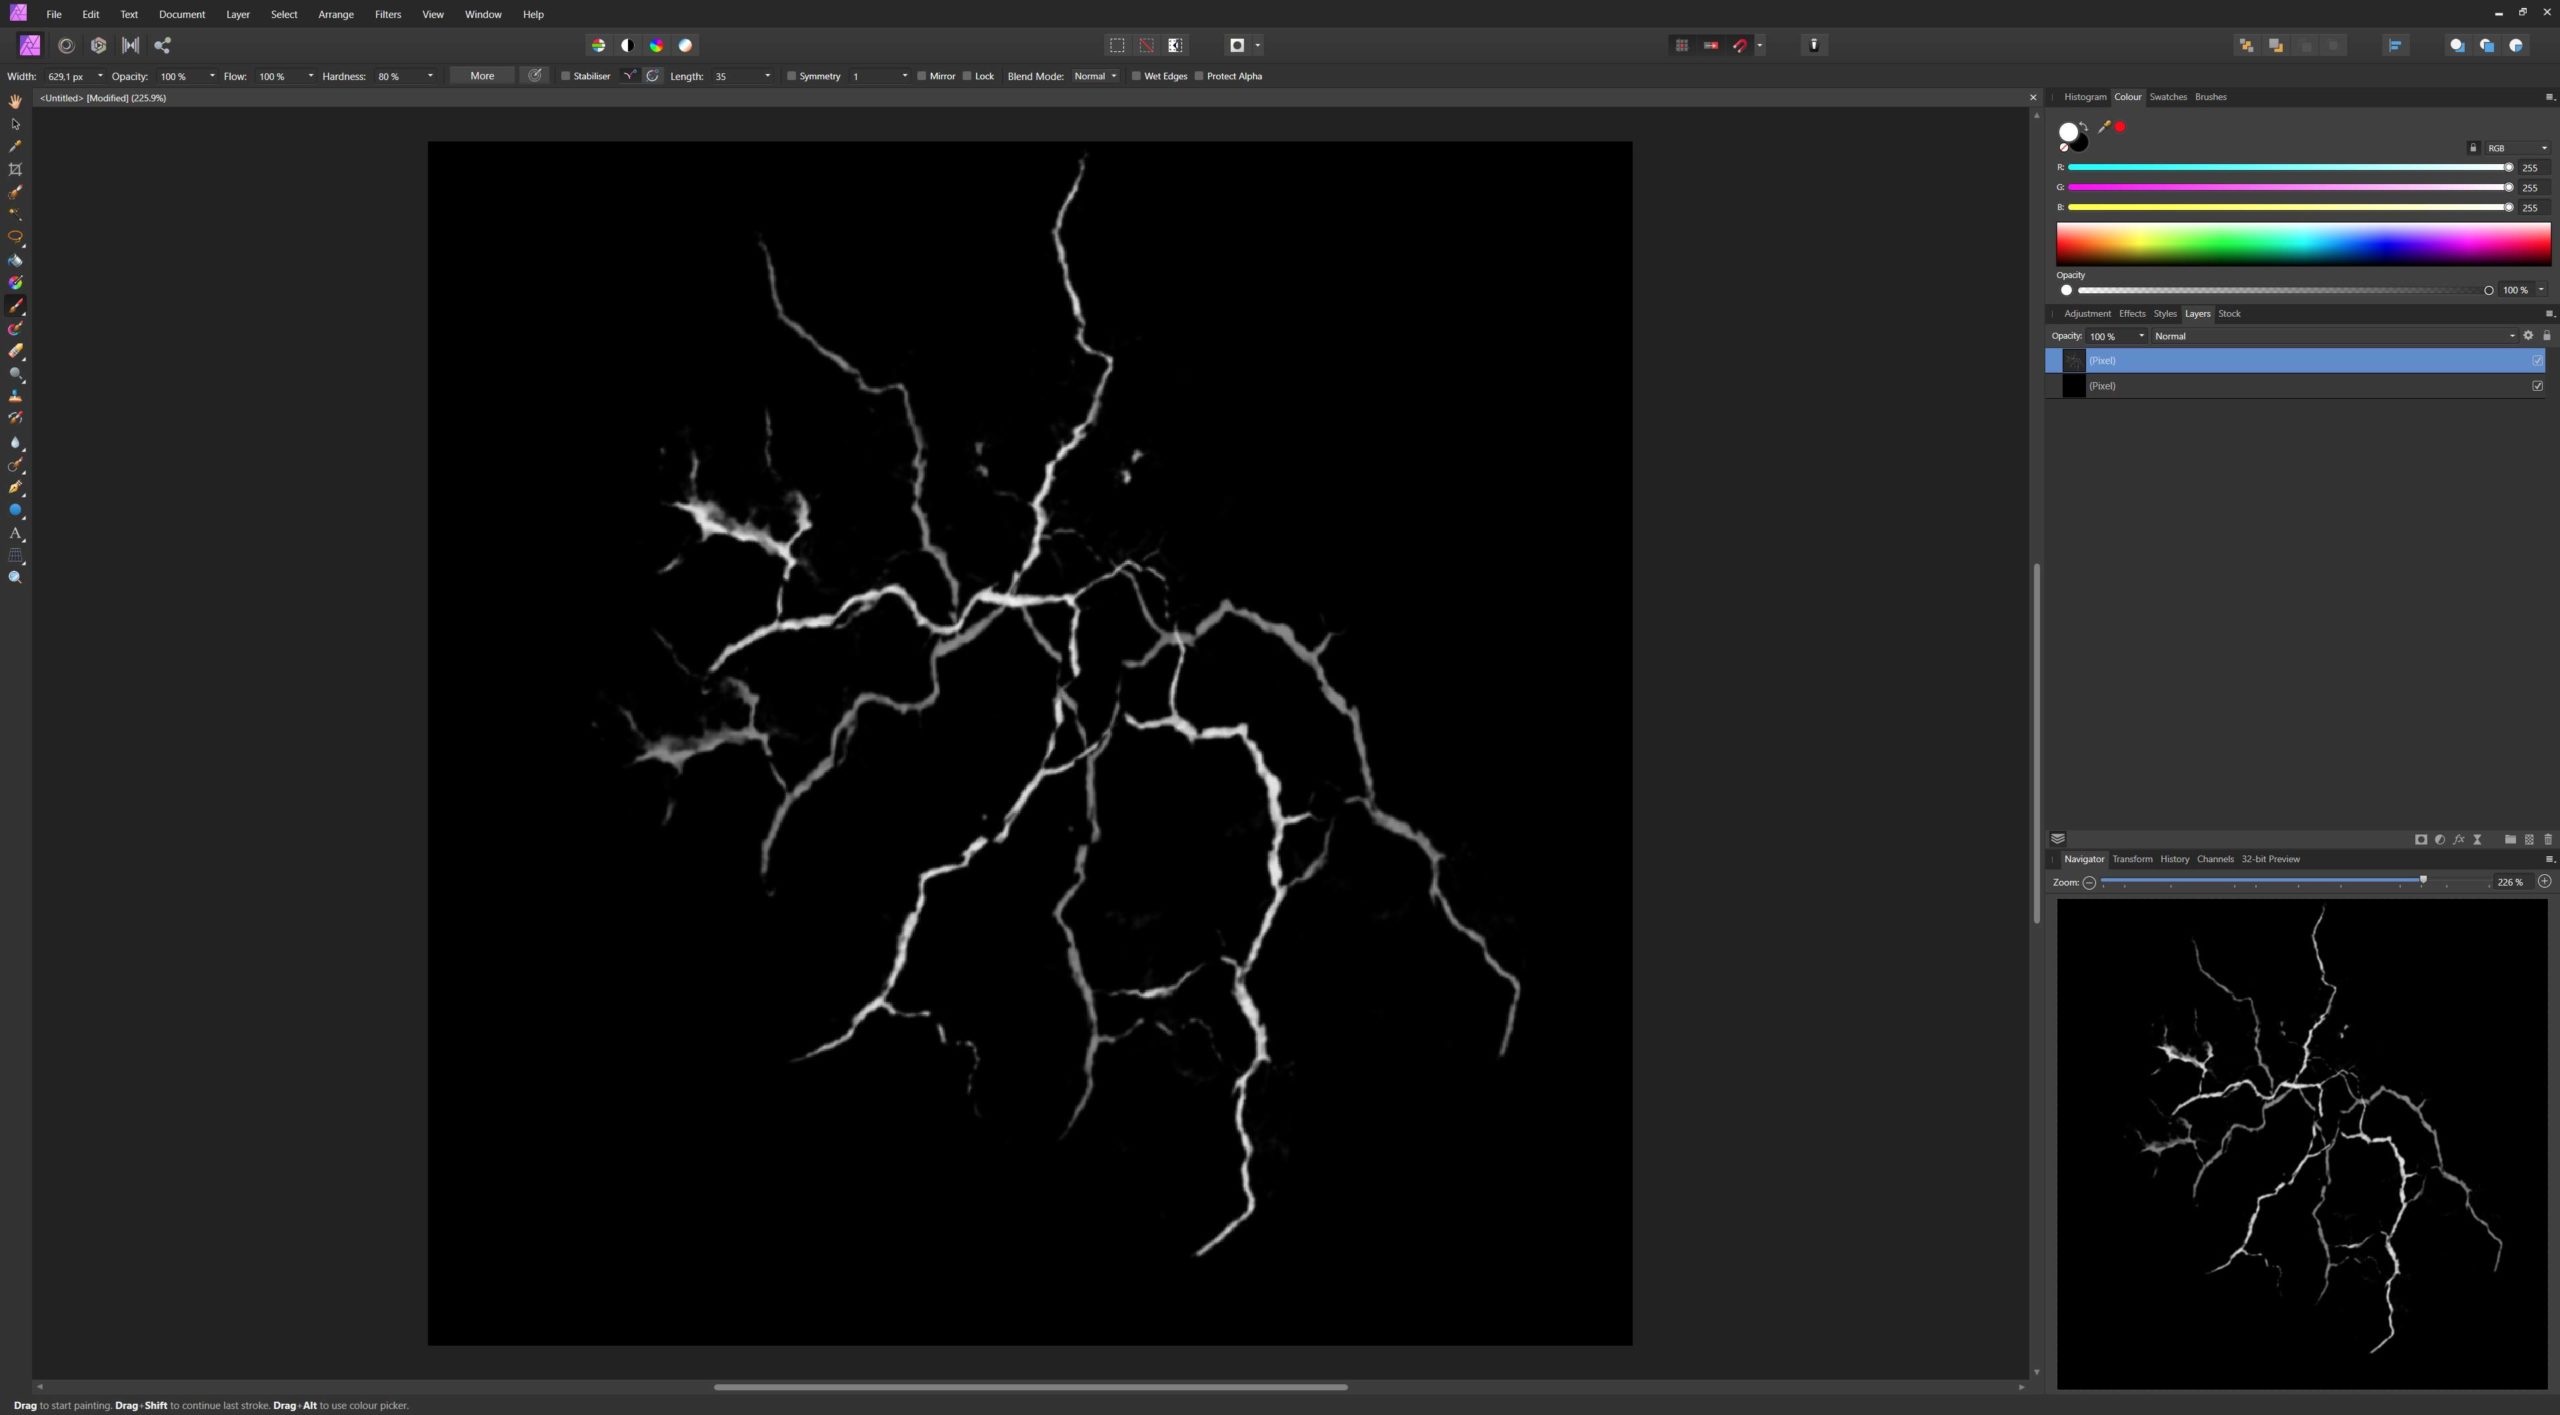
You might want to increase the contrast if your brush is very soft. But this is something you have to try out for each individual brush.
Now we simply need to export it as an image. Preferably as a png to have a transparent background. Save the image somewhere you will remember.
You can create all kinds of brushes like this. Use shapes to create geometric patterns, or use existing brushes from your photo or drawing application.
Use custom brushes in Fusion
Import Brushes manually


There are two ways to import custom brushes in Fusion. The first one is to create a new Paint tool and under Brush Controls select Image.
Here you have the ability to choose the Image source. By default it will use a number of pre made brushes that are saved in Fusion. But you can also choose a custom Image. Either through a Loader tool and change the Image source to Tool, or you can specify a filepath when setting the Image source to Clip.
Select the file and start drawing!

Save Brushes as Presets
Of course, you can also save these brushes as presets to have them available to you at all times.
After you have created your brush, you need to copy it to the location where Fusion expects it’s custom brushes.
For Fusion Standalone (on Windows) it’s this filepath:
C:\ProgramData\Blackmagic Design\Fusion\Brushes
For DaVinci Resolve (on Windows) it’s this filepath:
C:\ProgramData\Blackmagic Design\DaVinci Resolve\Fusion\Brushes

Now, your custom brushes will be available by selecting Brush as the Image source.
If you don’t see them right away, you might need to restart Fusion.
Performance and Custom Brushes
Fusion does not have any jitter or randomization options for brushes at the moment. They rather work like stamps. This is also why it can get fairly slow when you decrease the Spacing of your brush stamps as Fusion has to create hundreds of images.
If this is an issue for you, decrease the Spacing and paint what you want. Next, head to the Modifiers tab in your Paint tool. This is where all the brush strokes are saved. The great thing about this, you can modify them, including the Spacing.
So after you’ve painted your brush stroke with high Spacing for a good performance, decrease the Spacing in the Modifiers to get the desired brush stroke.
Note that you can fairly easy reuse these brushes for use in Quixel Mixer which is explained here.


