A question I see asked a lot in Forums is, how to animate opacity in Fusion. Especially After Effects users often find themselves confused since there is no Opacity or Transparency slider for each layer, or in Fusions case, Node branch. Thankfully it’s quite easy and here are 3 different ways.
The first two are methods that are easier to understand, but the quickest (and probably superior way) is by using a BrightnessContrast node.
Page Contents
Opacity with a Merge
You probably know how to use the Merge node. This is the most fundamental operation in node-based compositing software. Here we have the Blend Slider that we can use to change the opacity of our foreground input. We can use this knowledge to fade out all of our nodes.
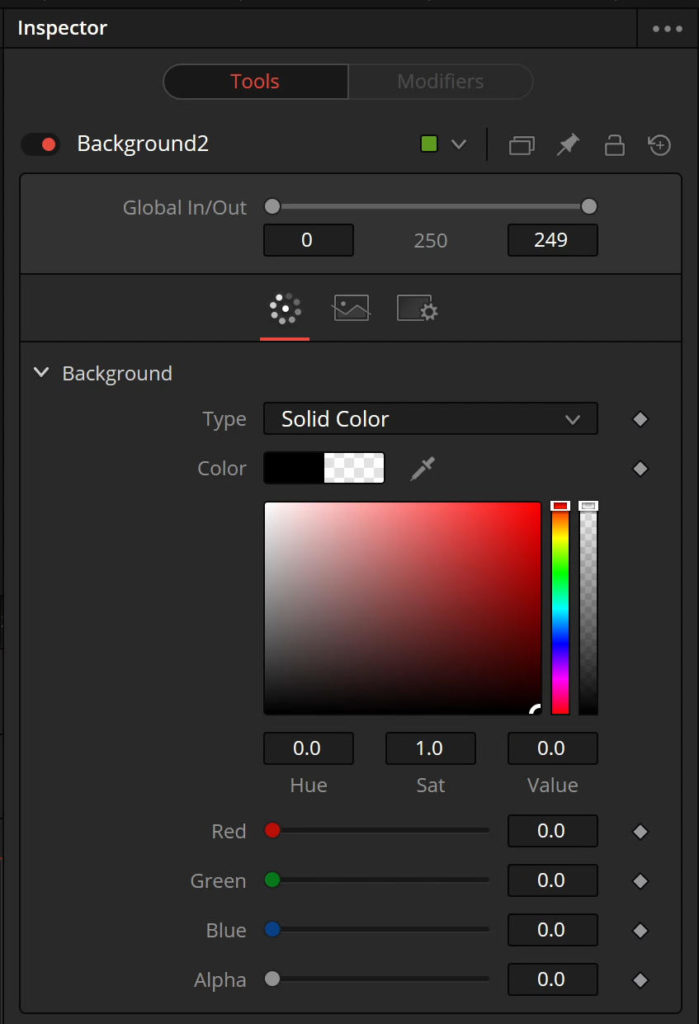
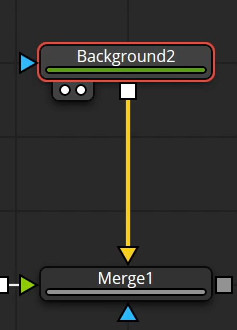
At the end of your node branch (or wherever you want the opacity to change) add a Background node and a Merge node. Make the Background node completely transparent.
Next, pipe the Background into the Merge nodes Background input and the rest of your node branch into the Foreground input.
Now you can use the Blend Slider to animate the opacity.
Opacity with a Dissolve
Exactly the same approach can be utilized using a Dissolve node. Only here, we don’t have to worry about the Background or Foreground inputs.
Simply create a Background node that is completely transparent and pipe that into one of the inputs of your Dissolve node. Add the rest of your node branch into the other input. Now you can use the Slider in the Dissolve node to animate the opacity.
This is the easiest way and the most simple to understand. We simply blend/dissolve between the empty Background node and the image from our node branch.
Opacity with a BrightnessContrast
Another great option is to use the BrightnessContrast node. This is also great to understand that Fusion (and you) can treat the Alpha channel completely separately, or together with the RGB channels.
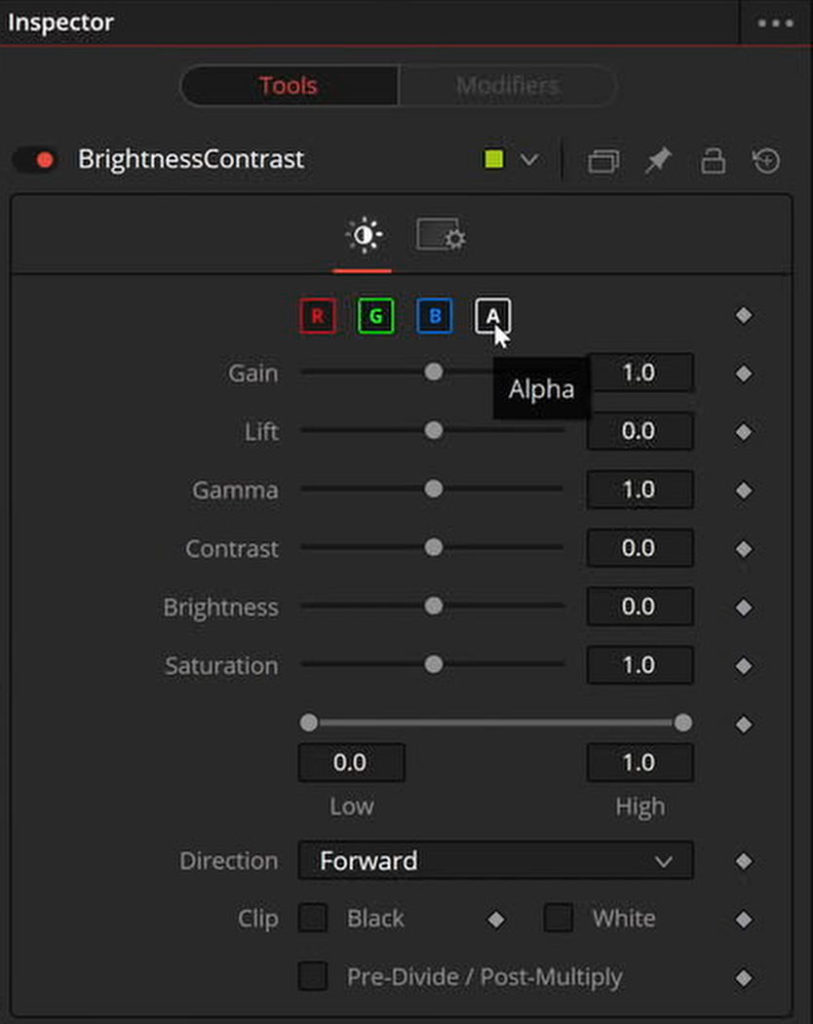
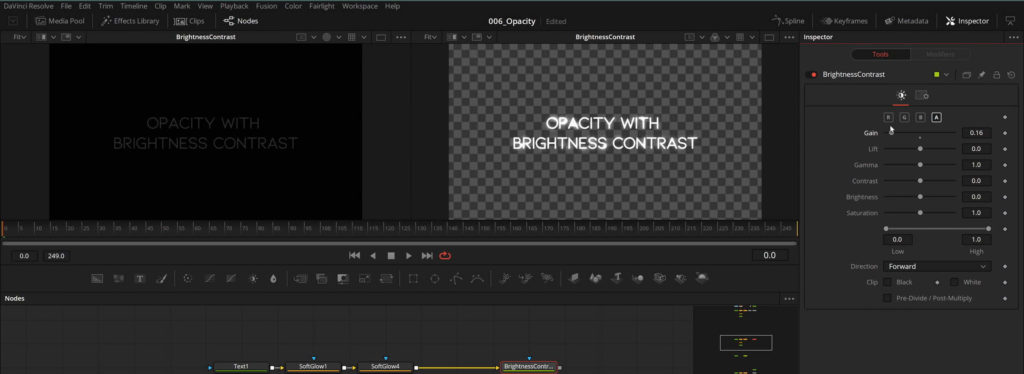
Drop down a BrightnessContrast node after your node branch. You can see that we can select and deselect the R(ed), G(reen), B(lue) and A(lpha) channels separately. Keep R, G, B, and select A.
Now move the Gain Slider lower. The image turns transparent. But what is happening?
If you look at the Alpha Channel we can see, the bright parts are getting darker, meaning the pixels above in the Red, Green and Blue channel are showing transparency.
You might be wondering, if we simply want to change the Alpha Channel, why do we need to change the brightness on the R, G and B channel as well?
Try this, deselect R, G and B in the BrightnessContrast node and reduce the Gain Slider. If you look at the Alpha channel, you will see that it does get darker, but the text stays visible (at least were it is completely white). This is, because we need to multiply our RGB channels with the Alpha to see the correct transparency. We could use the Alpha Multiply node, or we could simply decrease the RGB channels by the same amount as the Alpha.
