Keeping nodes organized is vital to efficiently working in Blackmagicdesign Fusion or DaVinci Resolve. But unfortunately, Fusions naming behavior when copying nodes or tools can be annoying. Instead of counting upwards (like other 3D, VFX, or Motion Graphics Applications), Fusion will append a “_1” behind the original name. In this Fusion workflow tip, I will show you how to quickly get rid of those using my batch rename script called Change Strings to change several node/tool names at once and stay organized!
You can download Change Strings for free on this post.
And here is a tutorial on how to install scripts, in case you’ve never done it before. Don’t worry it’s very simple.
Page Contents
Using Change Strings to remove unwanted numbers
The reason why Fusion appends “_1” to the name is so that each node has a unique name. But it can be annoying to remove them, especially if you start to copy copies.
First, open Change Strings, you will see this user interface:

I will use “%d” to remove the digits. This is part of Change Strings Advanced Searches, which you can read about here. But essentially what “%d” does is, it searches for all numbers.
These are our nodes:
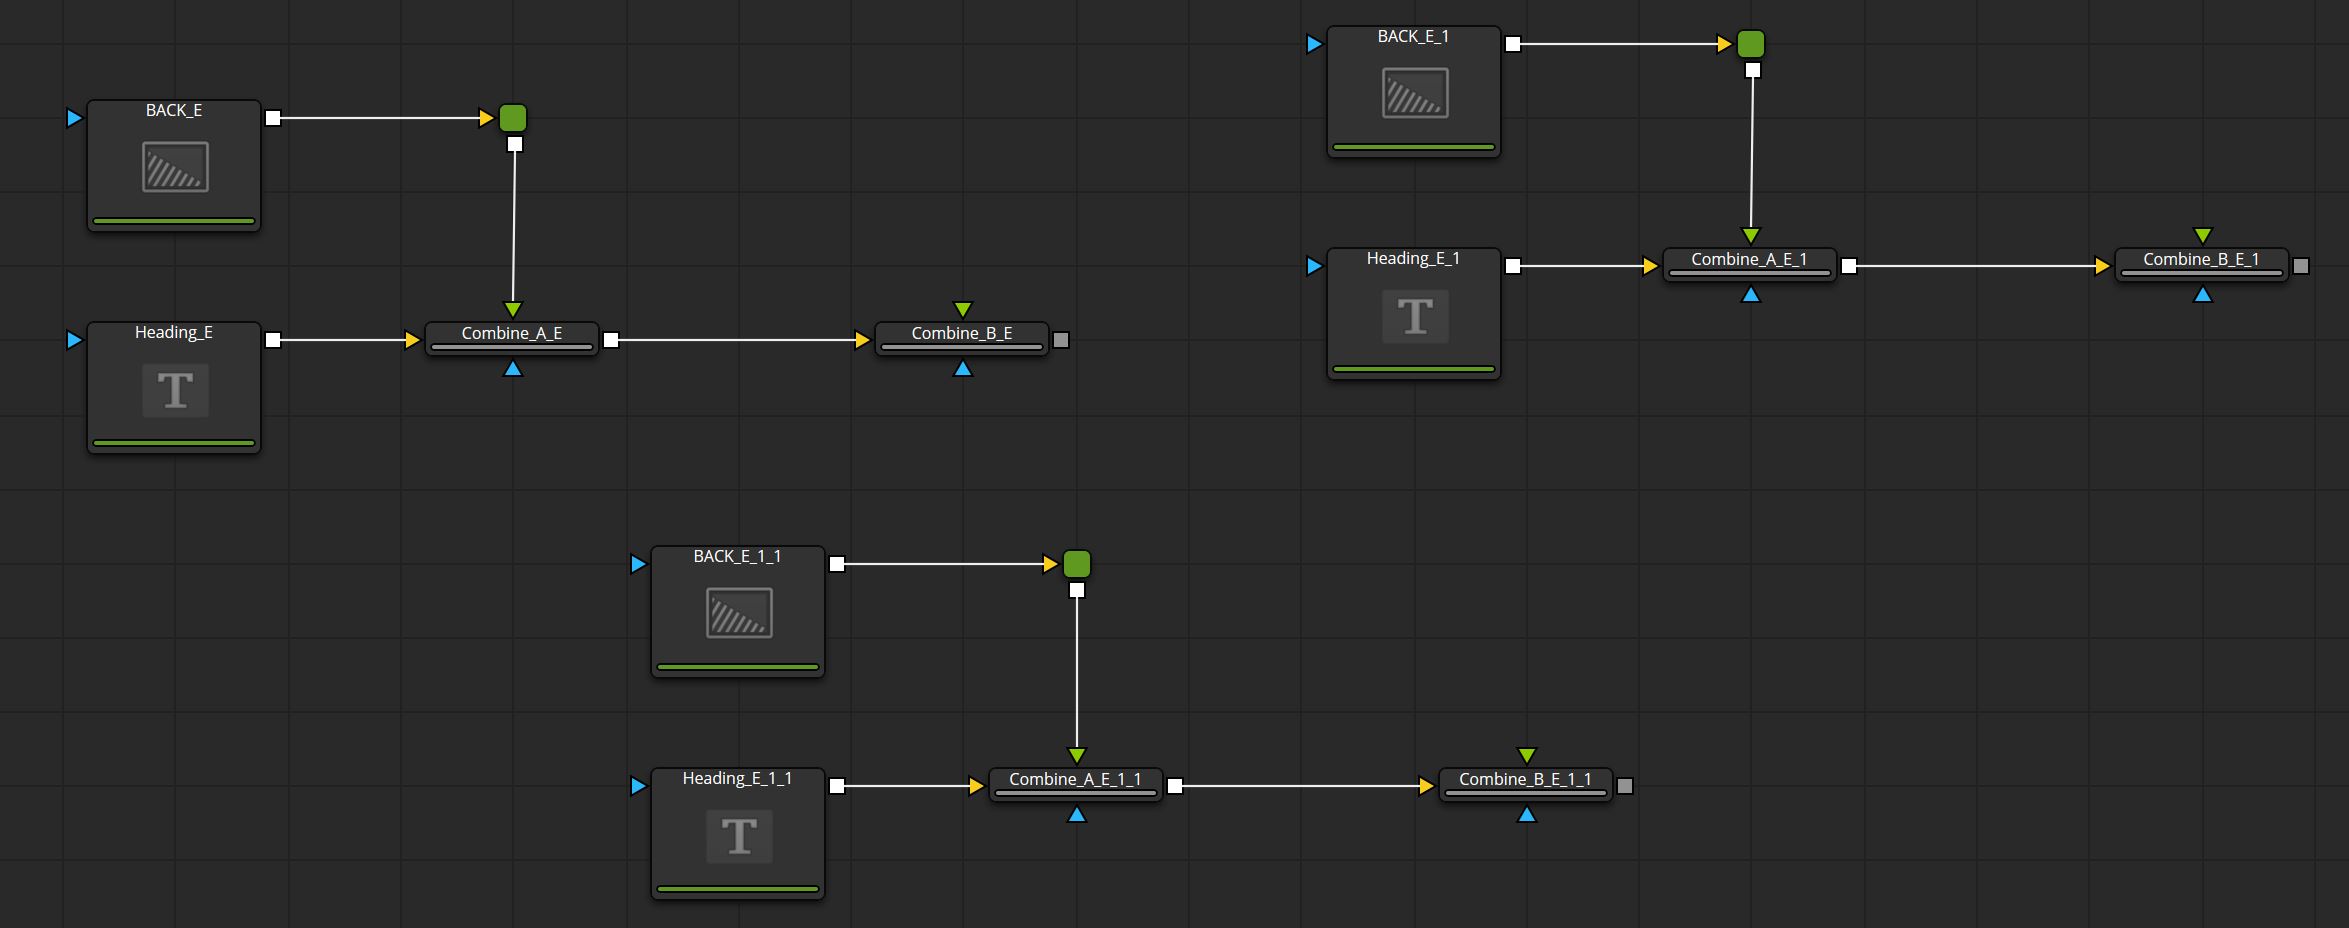
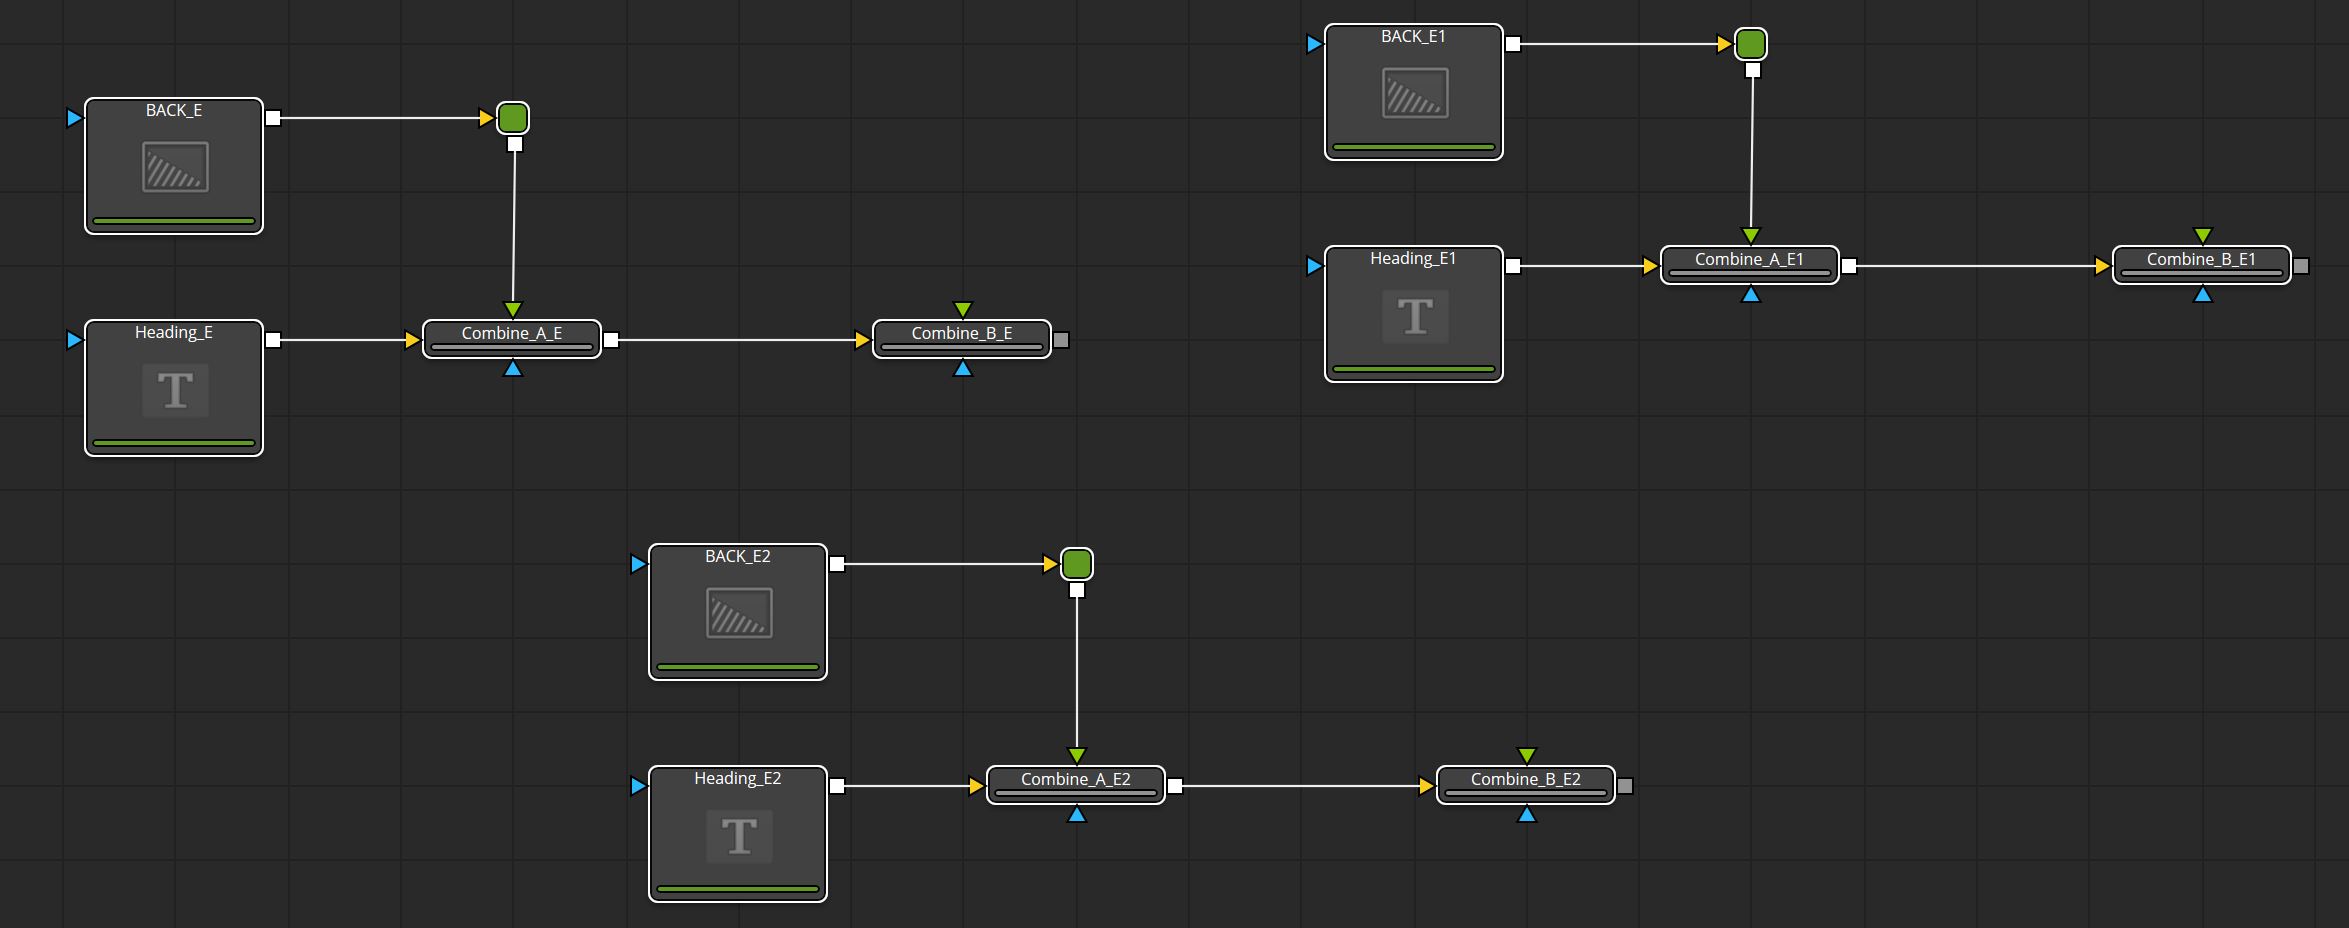
We will search for “_%d” in all selected Names and will replace it with nothing which will give use this:
Batch rename nodes to keep Instances ordered
Of course we can use this to not only batch delete numbers but also to find and replace the names of our nodes.
When I am working on a project, I usually like to keep several shots in the same composition. For example, there is a character who is a sorcerer and his magic spell is shown in several shots. I will create the magic effect once and then instance all the relevant nodes for the next shot.
This is important because there may be a change to the colors or size of the spell and this way I can change this in the first node branch and all the other shots will automatically adjust as well.
But now to the problem. Fusion will create Instances by naming the new node “Instance_PreviousNodeName“. This can get difficult to read. And if you have to create instances from instances those will be called “Instance_Instance_PreviousNodeName“.
It would be much better to simply name the nodes after our shot and rename these using Change Strings.
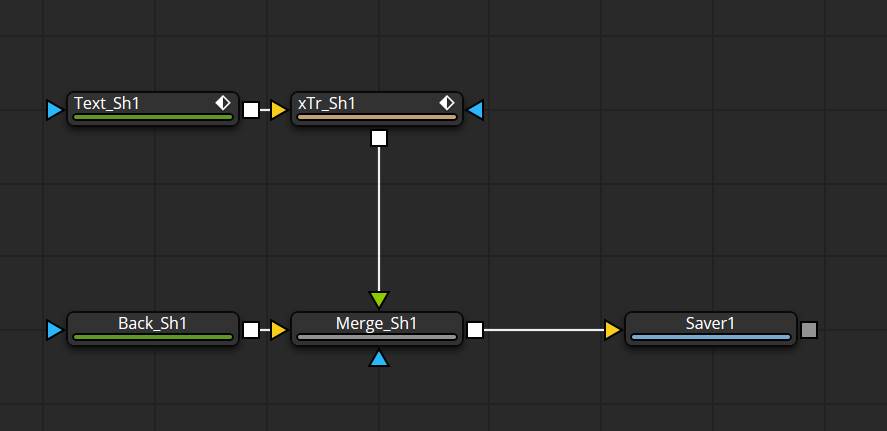
This is a common example of how you would name your nodes:
Let’s create instances of these. As you can see, even the names of the first Instances are barely readable:

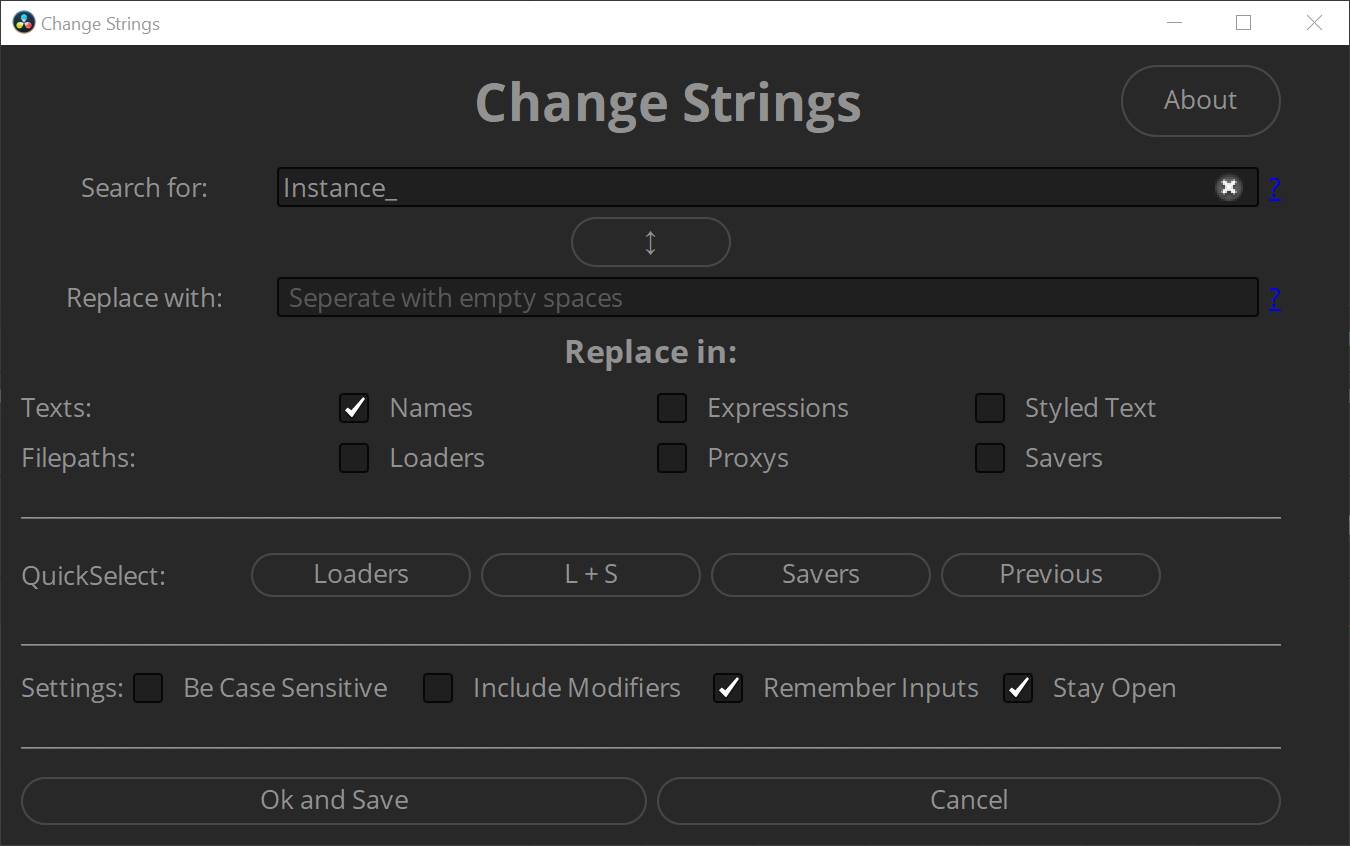
Open Change Strings and select your nodes. Search for “Instance_” and replace it with nothing. I would advise you to check the Stay open checkbox since we will need Change Strings further.
Hit Ok and all the “Instance_” in the names are gone.
But now, the nodes don’t end with “_Sh1” but “_Sh11” and “_Sh12”. Easy fix. Type “11” and “12” into the Search for field and “2” and “3” into the Replace with field.

And that is all. Now, all our nodes are named appropriately and we don’t have to guess what shot this node branch belongs to.

Of course, this script can find and replace text in many other text inputs as well. Like Filepaths or Expressions.
I hope learning how to batch rename nodes in Fusion was helpful to you! Check out the other content on my Website!
Be sure to download Change Strings here!


