Blending between positions or values can be incredibly helpful if you’re animating or tracking something. Blackmagic Design Fusion already offers many ways of offsetting a track, but sometimes this isn’t enough. Let’s figure out how we can blend between Positions using the Expression Modifier. Lerp stands for linear interpolation. Most 3D/VFX software comes with a lerp function built-in. Fusion doesn’t, but it’s not difficult to create yourself.
Click here if you only need the formula.
I recently did a big blog post about Simple Expressions. There I described many different Simple Expressions that I am using often. But to keep the scope somewhat reasonable I decided to not cover the Expression Modifier. I’m still not going to cover it in-depth, mostly because I very rarely actually use it, but I’m going to show you this nifty trick which is invaluable.
Page Contents
Expression Modifier Primer
The Expression Modifier can be incredibly helpful, mainly because it already has preconfigured Position and Number Controls. These are “empty” controls that you can easily use in your Expressions. To apply the Modifier, right-click on a control and choose Modify with > Expression. Now you should see this in your Inspector.
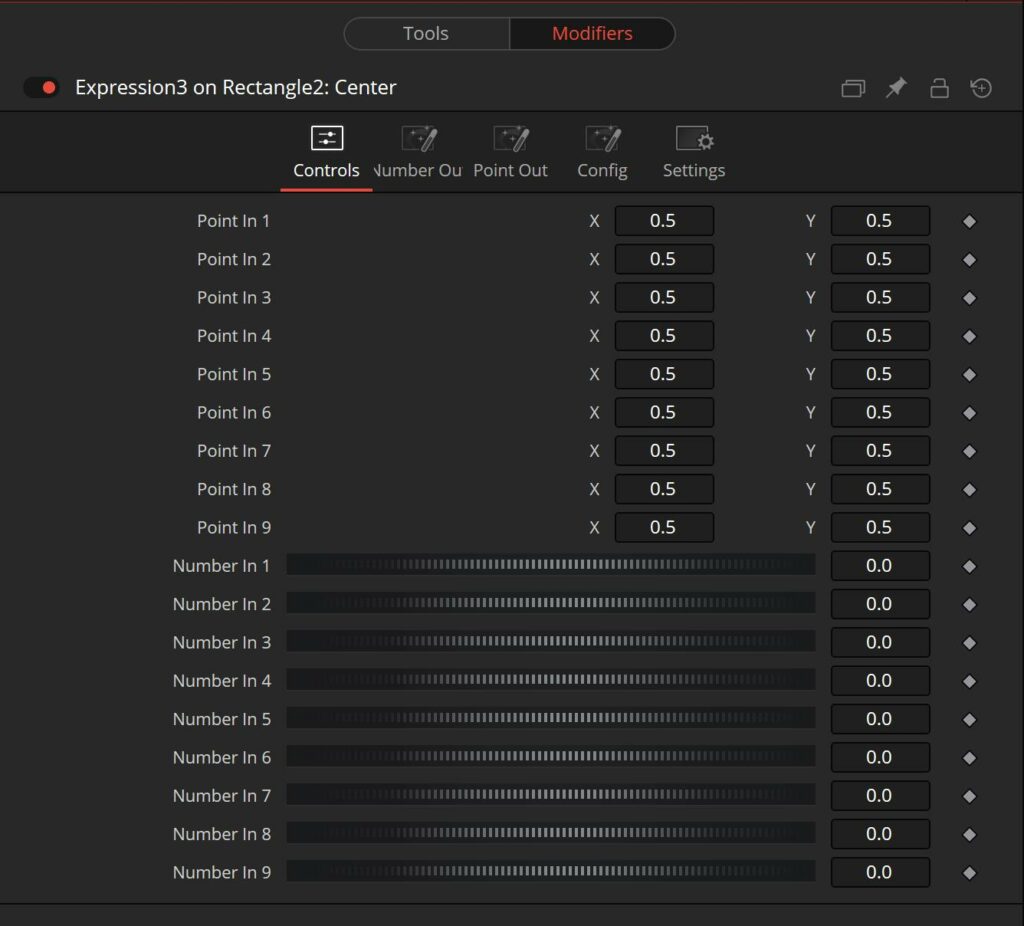

If you head into the Config-Tab, you can rename each of these controls or hide them. The name you give these controls is purely cosmetic. You can change the name without it breaking your expressions because behind-the-scenes these controls are actually called p1 to p8 for the Position Inputs and n1 to n8 for the Number Inputs.
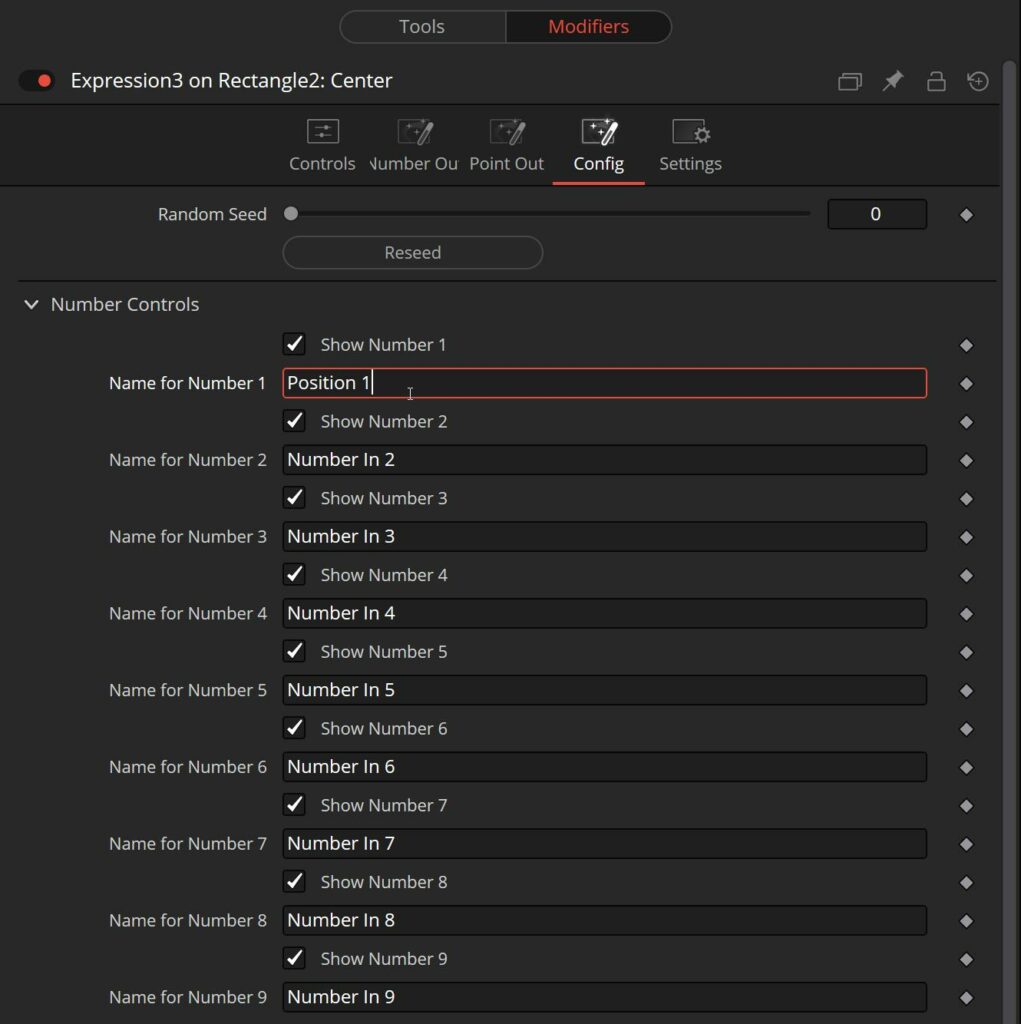
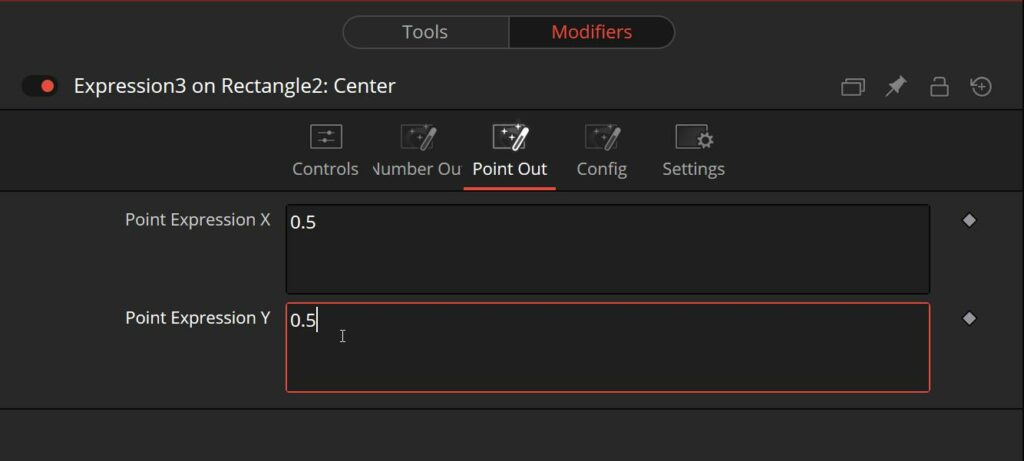
Everything we actually need to calculate and needs to be put back into the control we are modifying, will be written into the Number Out– or Point Out-Tab. Unlike the different Custom-Tools, there are no separate Tabs for intermediate calculations. If you need those, you could theoretically create a custom control and write an Expression into that.
We will need to use the Point Out-Tab in the LERP example I am going to show you next.
LERP to blend between Positions
In this example, we will set the Position of the Rectangle1 based on Ellipse1 and blend to the position of Ellipse2.
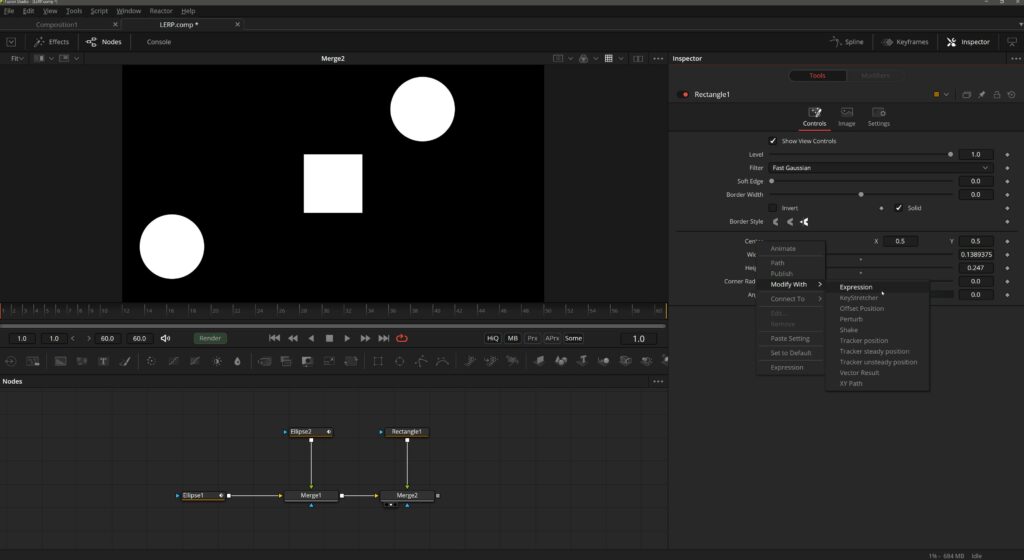
Let’s apply the Modifier to the Center of Rectangle1. Right-click and choose Modify with > Expression.
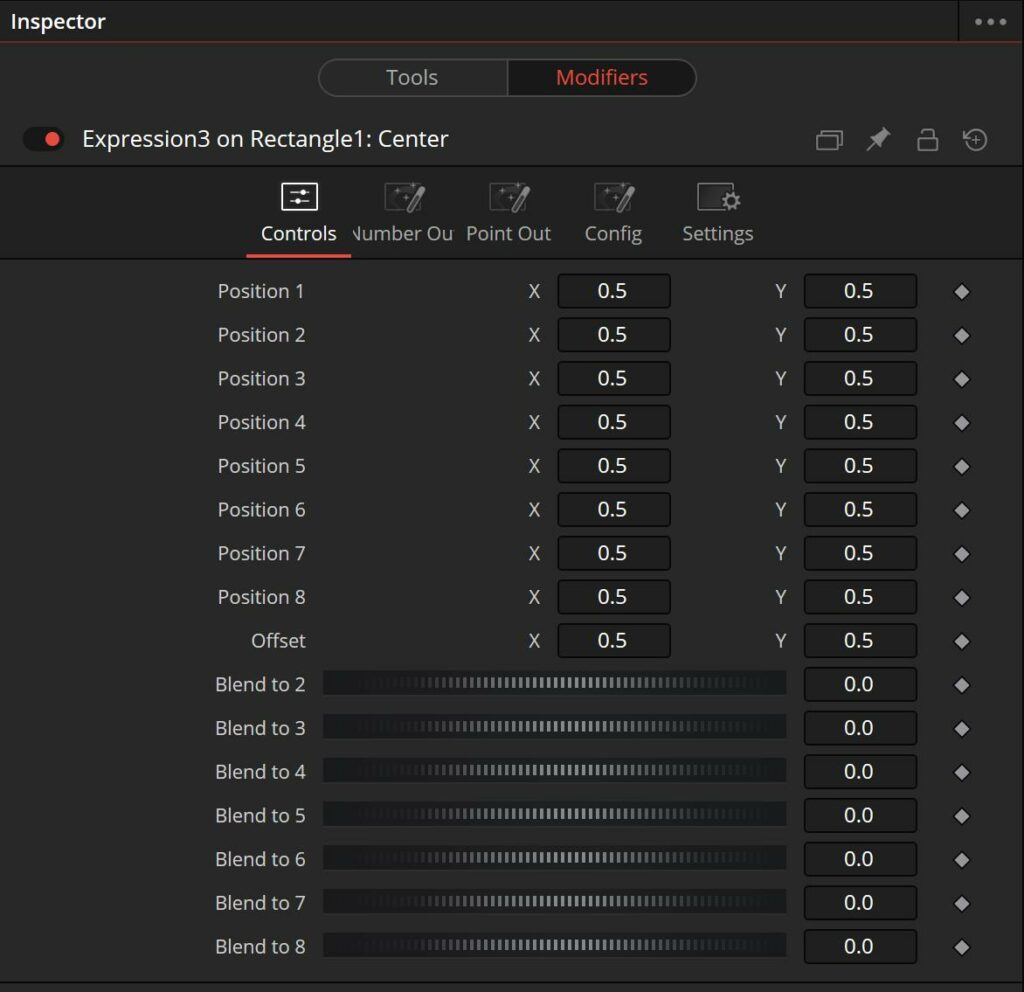
First, I renamed the Controls. This is optional or can be done later, but it makes the usage easier. I’ve renamed my Controls like this:
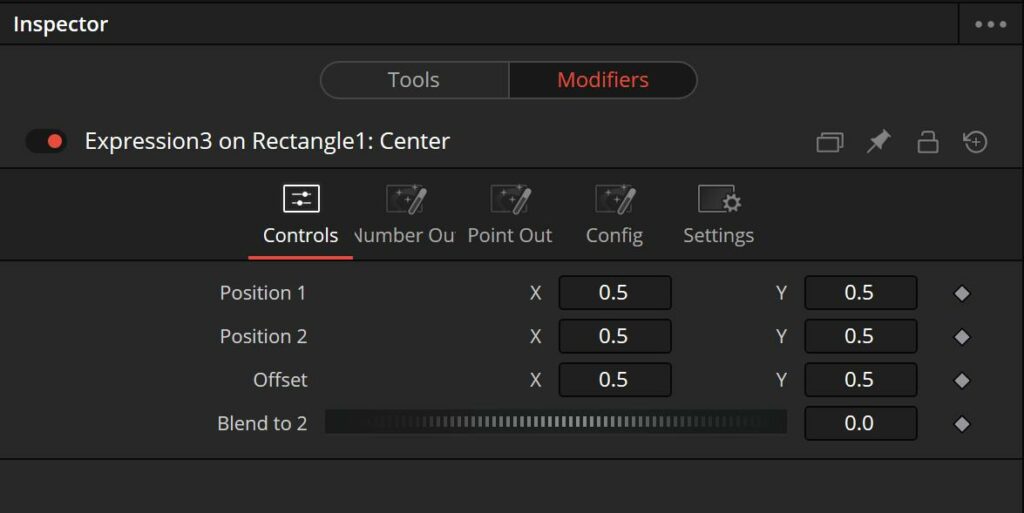
I kept 3 Position Controls visible and 1 Number Control. Position 1 and Position 2 are the two Positions we will blend between, and I have created an additional Offset.
Now we need to connect the two Position Inputs with the Positions of the two Ellipse Positions. We could right-click on Position 1 or 2 and connect them through an Expression, or we could publish the Center Controls of the Ellipse tools, or in my case, since I’ve animated the Ellipse Position through a Shake Modifier, it’s already published.
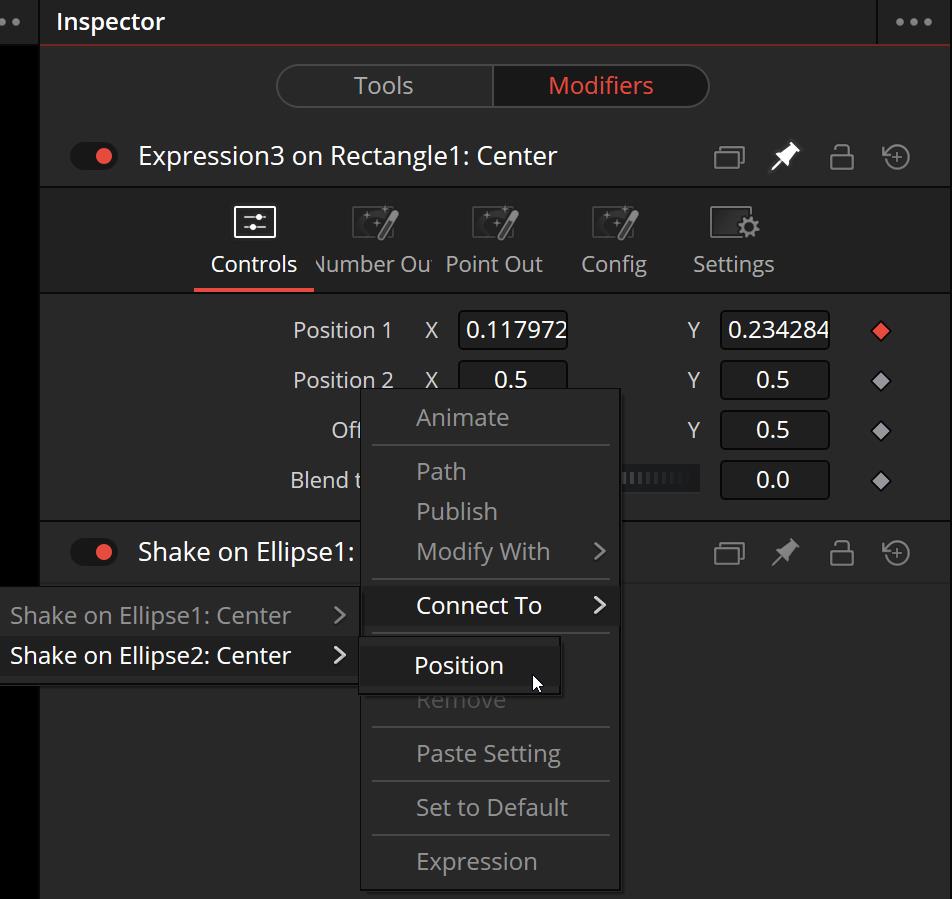
Now we have connected the two Positions but our Rectangle still sits at 0, 0. This is because we haven’t actually calculated anything yet. Let’s head into the Point Out-Tab.
LERP Calculation
The formula for lerp is relatively simple. This is what we will type into the Point Expression X-field:
p1X*(1-n1)+p2X*n1
“p1X” is the x-value of the Position 1-Input. “p2X” is the same for Position 2. Note that unlike everywhere else in Fusion, we don’t need the dot to get a subcomponent of a 2D Position Control. In fact, it won’t work if you do that.
“n1” is the Number Control for the Blend to 2-Input and blends between the two position values.
We do the same in the Point Expression Y-field, except we exchange the “X” with a “Y”:
p1Y*(1-n1)+p2Y*n1
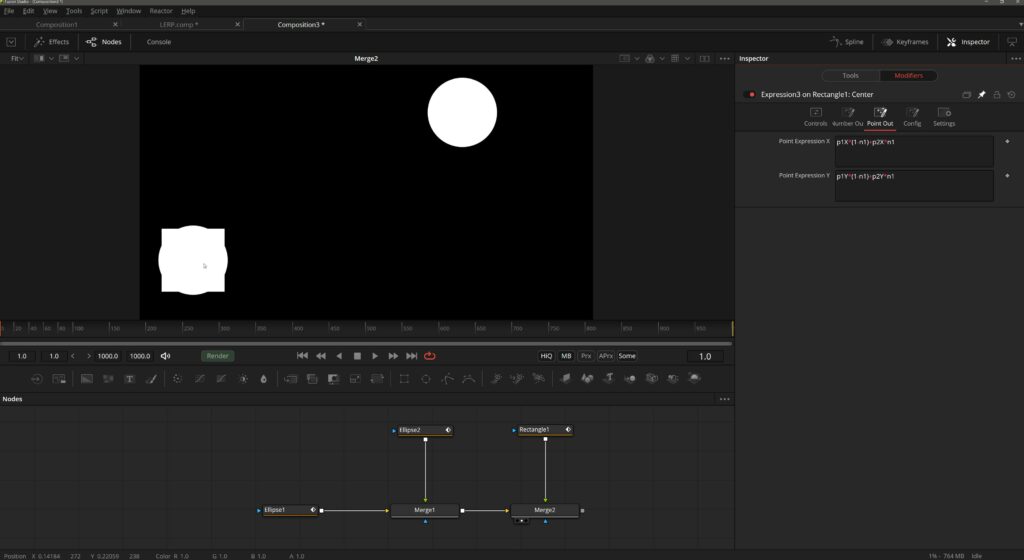
Now, the Rectangle sits on top of the Ellipse1, because the Blend to 2-Input is set to 0. Increasing the value will slowly blend the Position of the Rectangle until it is using the same Position as Ellipse2 when the Blend to 2-Input reaches 1.
Adding an Offset
This is truly as simple as the heading suggests. To add the Offset, we only need to add it to the calculation.
In my case, I chose the 9. Position-Input to be my Offset-Input. Now my Point Expression X-Expression looks like this:
p1X*(1-n1)+p2X*n1+p9X-0.5
We simply add the X-Value of the 9. Position-Input and subtract 0.5 because this is the default value for a Position.
And again, the same rule for Y:
p1Y*(1-n1)+p2Y*n1+p9Y-0.5
As you can see, the Preset that I have created for myself can ultimately blend between 8 different Positions and also has the extra input for an offset.
