I will explain the following examples in depth, if you just want the code in a neat table click here.
Page Contents
if() Expression
This is another common Expression that is very useful. You can use an iif() Expression to set a value based on a condition.
The syntax works like this:
iif(Condition is true, return this, else this)
So to change the Size on a Text+ after a certain frame we can write this Expression:
iif(time>10, 0.3, 0.08)
This will change the Size from 0.08 to 0.3 after frame 10.
if() to speed up rendering
The next example is something I use quite often when working on bigger projects that take quite some time to render. While working on it, you want to see your changes as fast as possible and Fusion has a few inbuilt features to ensure that. One is to disable the HiQ-Mode. You can see this quite well with the Resize or the DirectionalBlur tool.
Here is a simple Text+ tool with a Resize tool. I enabled the Only use Filter in HiQ Setting on the Resize tool.

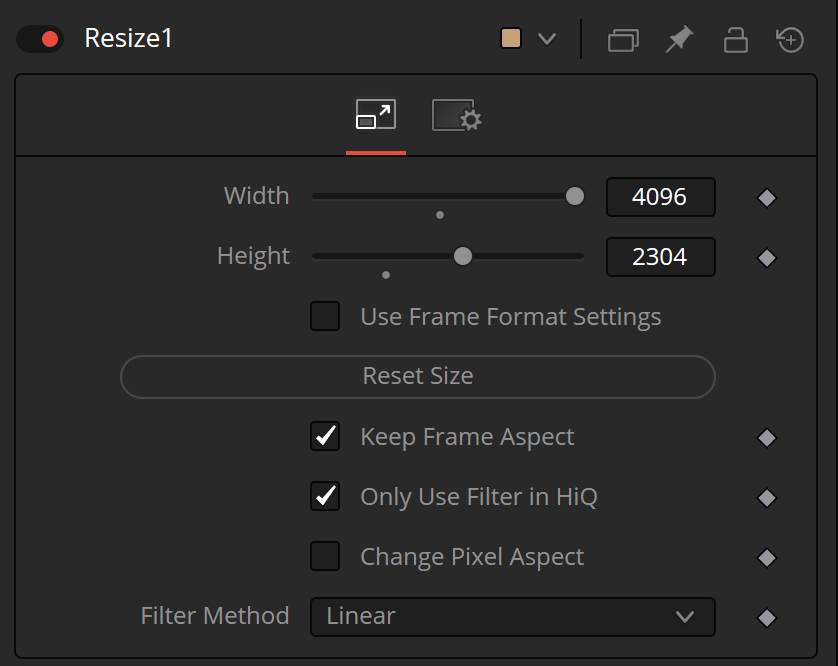
Hover over the image below and use the Controls below to toggle between the image in HiQ on and HiQ off. You will see that the Text with HiQ off will look more pixelated. That way Fusion can skip the Filter operation and deliver the image quicker. Not good for final rendering, but great for a quick preview. Try it yourself, for example with the DirectionalBlur tool, or toggle the gallery image below.


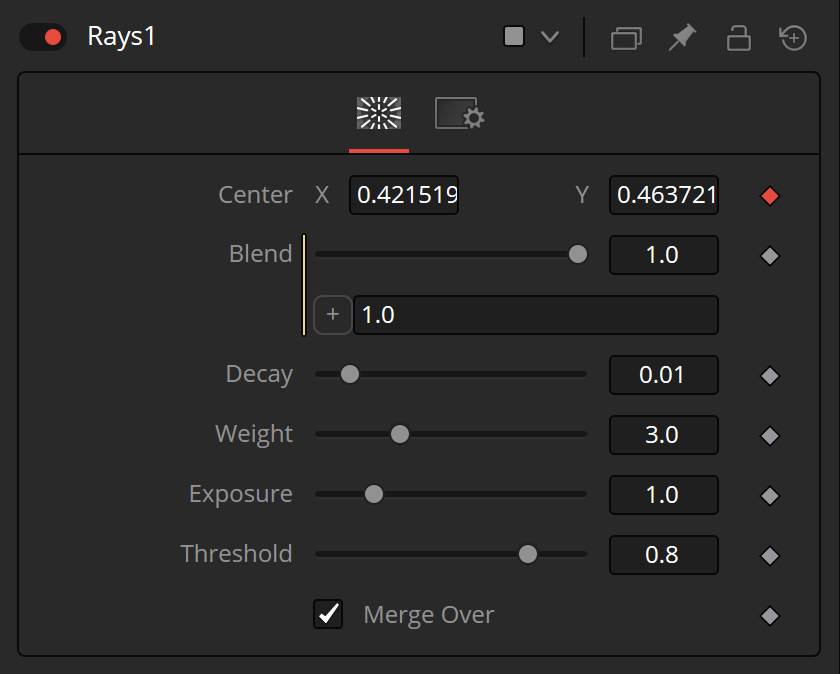
But why am I telling you this? Because not all computational expensive tools have this option by default. This is where the if() expression will come in handy. Take the Rays tool for example. Having a colorful Text+ tool and the Rays tool animated will already reduce the playback to around 20 frames a second. Now imagine having several in your composition. This will quickly destroy playback performance. What I often do is disable the Rays tool completely when disabling HiQ-mode.
In the Rays tool (or any other tool you want to disable), right-click on the Blend Slider. In the Rays tool you will find this on the first Tab, most other tools have the Blend Slider on the Settings Tab.
Now type in:
iif(comp.HiQ, 1, 0)
As you remember from this chapter, the expression comp.HiQ will return a boolean (either false or true). This is why we don’t need to specify when this if() Expression will be true. But in the end, it will set the Blend Slider to 0 when HiQ is off, meaning that it will not calculate this node either.
(If you’re looking for more ways to speed up rendering you might be interested in understanding data window or Domain of Definitions inside of Fusion. You can find a video about it here)
iif() Expression to toggle Vector Motion Blur
Another way to save time is to disable Motion Blur. For that, we have the MB Button in the UI, exactly like the HiQ Button. But this only disables the iterative Motion Blur that is applied by Transform tools for example. The VectorMotionBlur tool is not affected by this. We could hook this up to the HiQ Button and call it a day, but wouldn’t it be cool to have this be controlled by the MB Button instead.
You might think this is as easy as comp.MB but that was never implemented. Luckily, there is another way as explained by the great Peter Loveday here.
Instead of asking the composition if the button is enabled, we can ask the node/tool if it was requested to calculate Motion Blur.
So type in this:
iif(req:IsNoMotionBlur(), 0, 1)

Notice that the condition is inverted. So we get true if MB is off.
This will only update if the node recooks, so as soon as you hit play.
We can use the same technique for the HiQ and this where I can demonstrate the difference. I use the same setup with the Rays tool as before. I only append a Tracker tool.

To ask the node if HiQ was requested we can type in this:
iif(req:IsQuick(), 0, 1)

Now view the Tracker tool and modify the trackers position. You will find that even though HiQ is off in the Button, the Rays tool will still act as if it was activated. And this is because the Tracker will force all upstream tools to work in HiQ mode while it is tracking.
This makes sense, why should it try to track something with a worse quality only because you forgot to enable HiQ. Why is this distinction important? You probably won’t every track footage after you have applied effects. Usually, you pipe the original footage, maybe with a little increased contrast, directly into the Tracker. But for the rare case that you might need this information, here it was.
Why iif() not if()?
This is a question that I see often and this distinction cost me hours before I finally wrote iif() instead of if() by default. But at least the answer makes sense.
The Expression-field always expects a return value, otherwise, what should it do? An if statement doesn’t actually return anything though. This is why iif() was created for convenience. If we manually specify a return we can use the standard Lua if() statement.
We can write this:
:if time > 10 then return 1 else return 0 end
This works exactly like iif() it simply takes longer to write. We need the : to make clear that we are breaking out of the bounds of simple Expressions and are using Lua, and from then on we simply use the normal Lua if statement. Remember to add the return and end functions, otherwise it won’t work.
Sometimes I actually prefer to use this method, simply behause it’s easier to spot a mistake as there are no brackets or comma.
Useful Expressions for automation
Get Value from a different time
We already know about using one control to drive the other, but what if you need the value at a certain time, or a frame before?
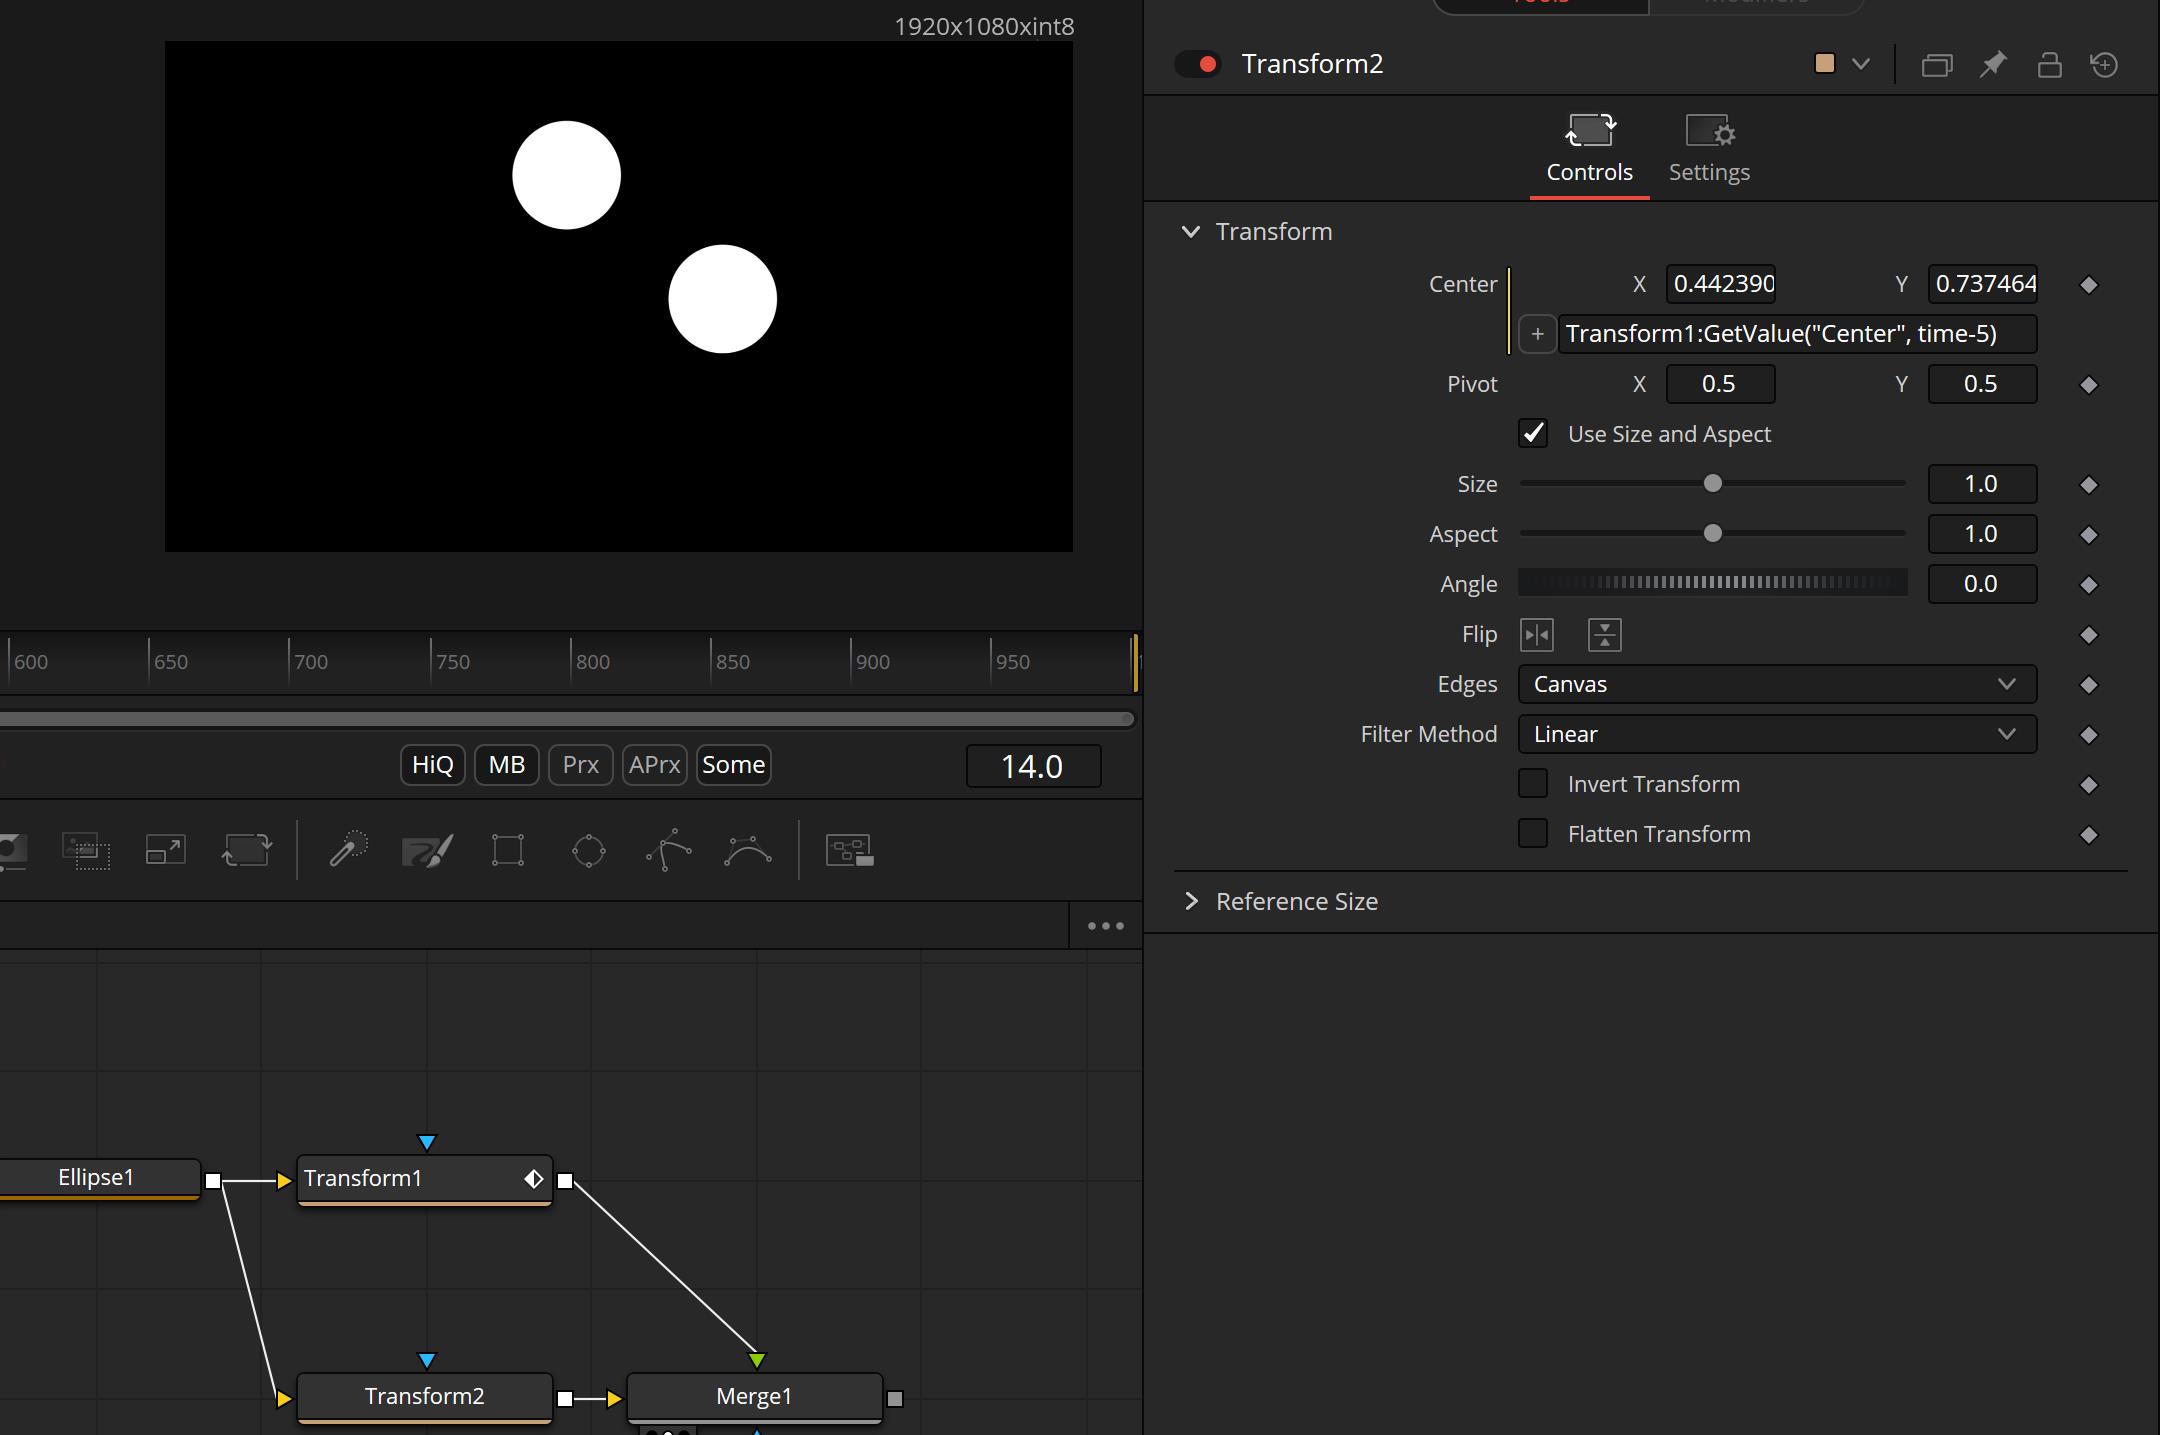
We will use the Tool:GetValue("Control", Frame) function. So to get the Position of a Transform tool at a certain time we write this in the Center Input of a second Transform.
Transform1:GetValue("Center", time-5)
What we get here is the position 5 frames prior. Kind of like a Duplicate tool.
If you need a value from the same tool you can use self:GetValue("Control", time) instead.
And to get only one position, like X, or the value of user inputs, you can use this syntax self:GetValue("Style", 1).Value


Get the resolution of a tool
This next expression is very useful! You can use it to create Proxy scales for a Macro, or to set several tools to dynamically switch resolutions. This can also be used to force the correct resolution. For example, a recent project for an exhibition required me to animate paintings that were scanned in enormous resolutions.
Usually, when you create a mask, Fusion will automatically set the mask to the correct resolution of the image, but this doesn’t happen if you’re not using the Mask input of a tool but the Matte Control. After several times of having my mask resolutions change to the project resolution and messing up my masks, I set all my masks to reference the output resolution of a tool. Now I was able to change the resolution of my images AND have all masks update correctly.
The Expression works like this:
Tool.Output.Width
Tool.Output.Heigth
So in my case I’ve used a Background tool an animated the Width to demonstrate this:
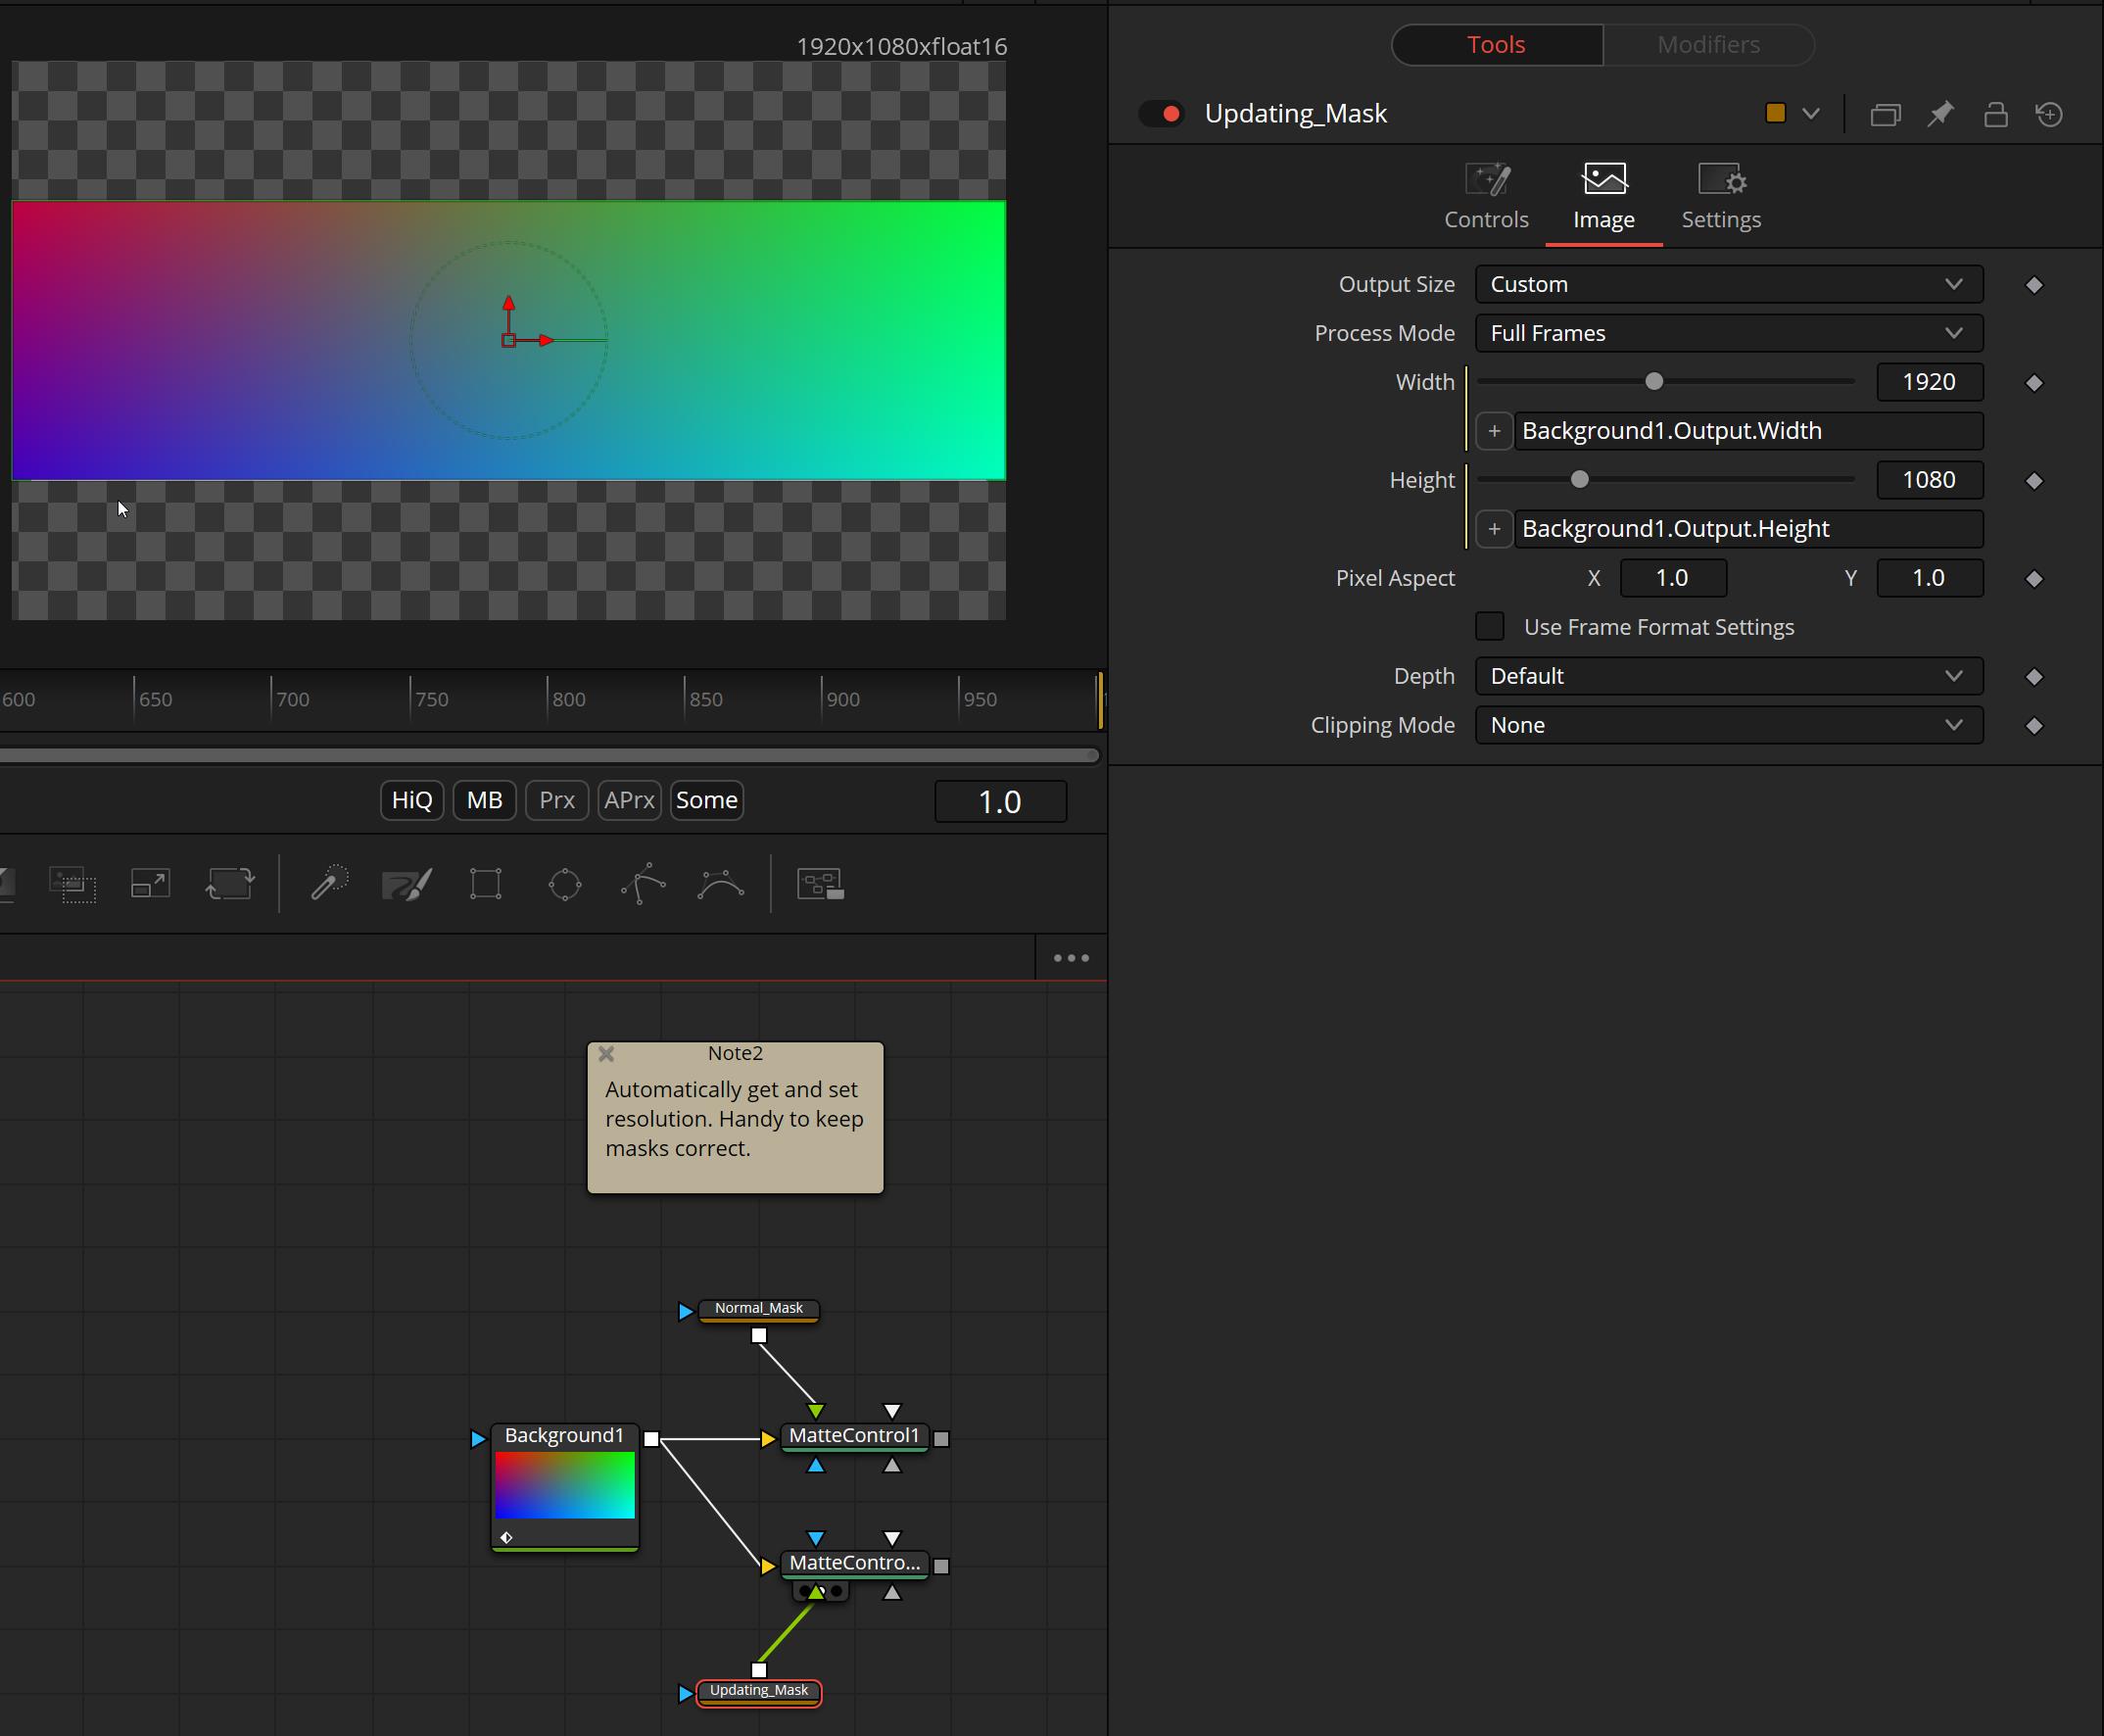
Table of Expressions from this Page
Some of the states that you can ask the Buttons/Fields in the Playbar in Fusion and other Expressions we discussed on this page:
comp.HiQ | returns true if HiQ-Button is activated |
comp.Proxy | returns true if Proxy-Button is activated |
comp.ProxyScale | returns the number by which the original resolution was divided by |
comp.RenderStart | returns the Render Start frame |
comp.RenderEnd | returns the Render End frame |
comp.CurrentTime | returns the current frame number |
comp.GlobalStart | returns the global composition start |
comp.GlobalEnd | returns the global composition end |
req:IsQuick() | returns true if the node does not request a HiQ-Mode |
req:IsNoMotionBlur() | returns true if the node does not request Motion blur |
Tool:GetValue("Control", Frame) | returns the value at a specific time |
Tool.Output.Width | returns the resolution width of a tool |
Tool.Output.Heigth | returns the resolution height of a tool |
On the next page we will look at some Math operations.


