Page Contents
Page 4
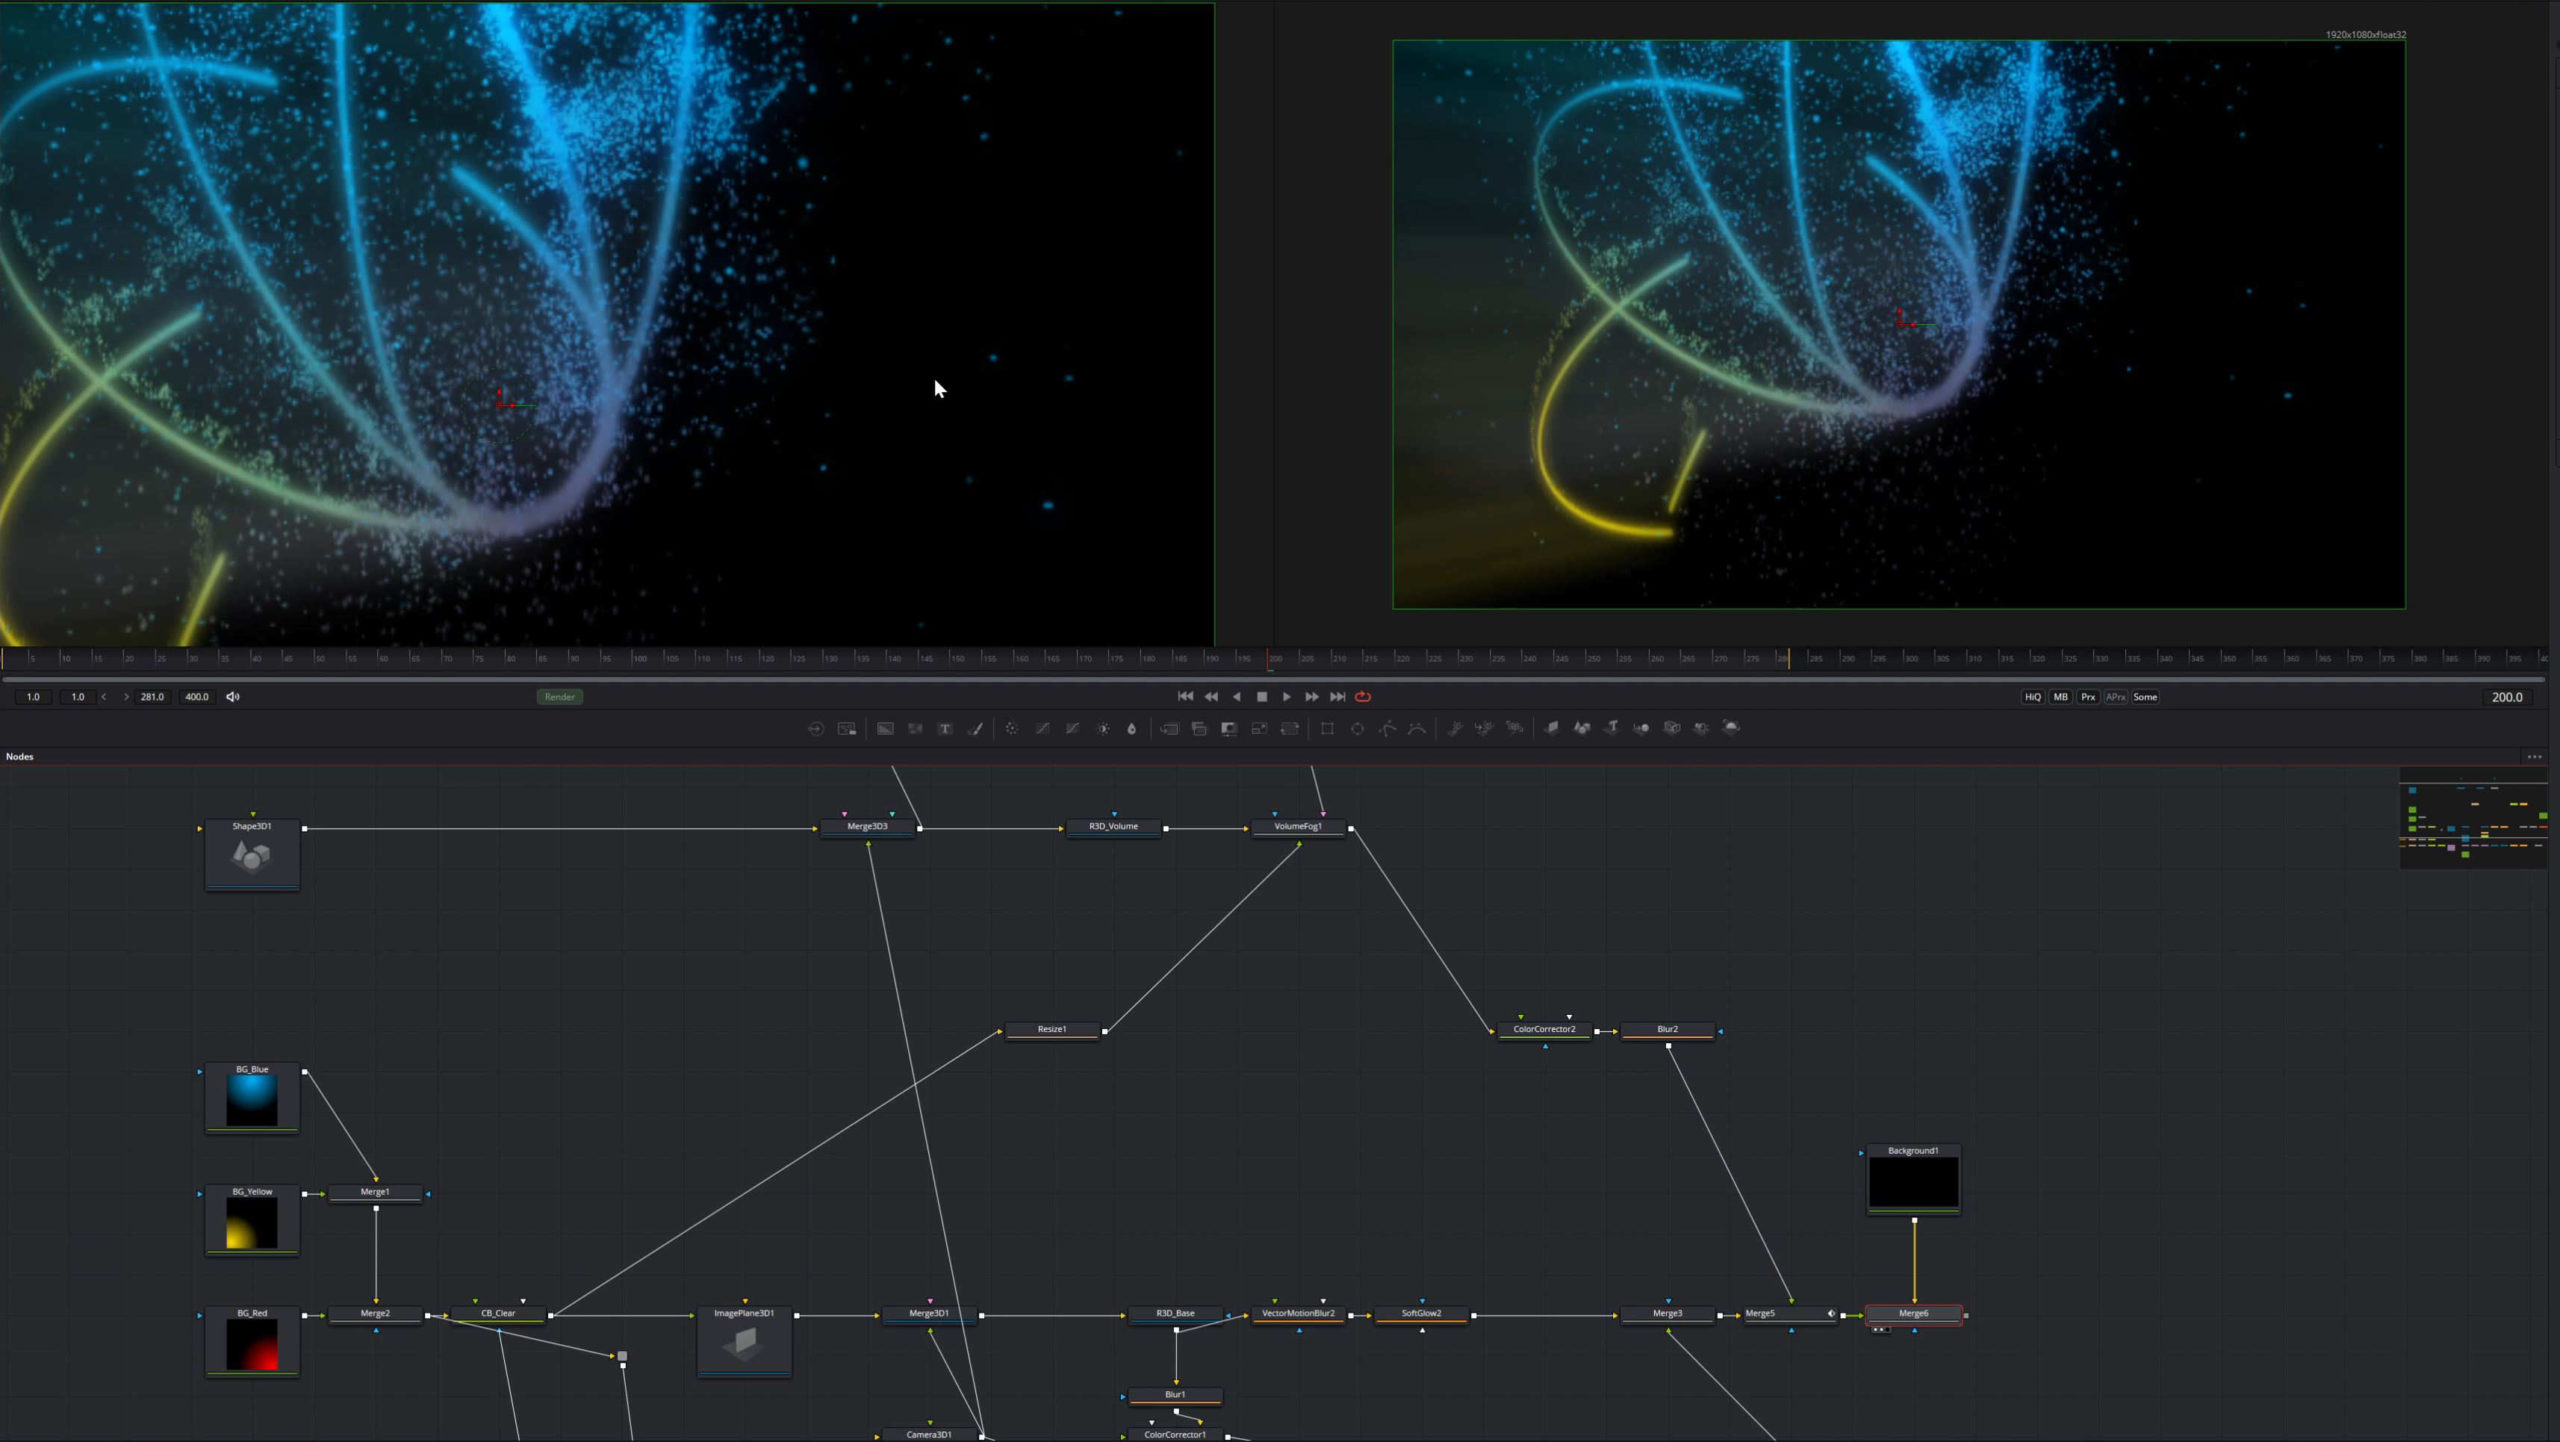
Creating the final Look
Now we are pretty much done and only need to make some minor changes to get the look that we want.
I’ll start by adding a Soft Glow after the Vector Motion Blur. By increasing the Threshold we will stop the glow to affect every pixel, I also decrease the Gain and increase the Glow Size.
I’ll do the same to our base animation but keep the settings on default there.
You might be wondering if we should add some Motion Blur to the Base Animation. Our camera movement isn’t that strong so the effect won’t be too visible, but there’s still something that we can learn by doing it. So we add in a Vector Motion Blur after our R3D_Base and activate the Vector Pass there. (08:15)
If you remember when we added Motion Blur to the particles, I talked about artifacts that could occur because of Anti Aliasing. So if we look at our Vector Pass you can see that we are generating vector information only where our image plane is visible. Usually, this is exactly what we want, but in this case, we wouldn’t mind getting this information on the whole Imageplane, which is a square right now even though we can’t see it. This would mean we don’t have to worry about visible pixels on the edges of our animation not being affected due to Aliasing.

We can do that easily by going into our Imageplane3D and under Visibility uncheck Suppress Aux Channels for transparent Pixels. (09:00)
There we go, possible problems avoided. Let’s go back to our RGB Image.
For another minor tweak, I will animate the Opacity or Blend of the Volume because I feel like it should fade out.
I will go to the Merge node that adds the Volume to out animation go to Frame 200 and set a keyframe at Blend go to Frame 265 and decrease the amount.
And I also add in a slight Blur to make our streaky light slightly smoother.
The last step before rendering is, to add in a Background if we don’t want any transparency in our final render. I’ll do that by creating a black Background node and merge our animation on top of this black background. (10:00)
Before Rendering I increased the amount of particles being born to and decreased their size accordingly.
We can add a Saver or Media Out Node and render this out.
Now you can create your own logo animations in Fusion.
Play around with these numbers and make this your own. With just a few changes to this setup, you can create all kinds of effects like a Text reveal I showed in the video tutorial. Feel free to ask if you don’t know how. I hope you learned something, and if you have any questions feel free to ask here or on YouTube or take a look at the composition. See you soon!
On the next page, the composition is available to copy and paste into Fusion!


