
Say you want to enhance your Animation in Fusion by adding 3D Godrays as I have done in the video below. This is very easily done in Fusion, by using the Volume Fog Node. The Volume Fog creates a 3D Volume like many 3D applications would do and can even scatter light. But with this trick you don’t need any modeling or simulation skills to create these Godrays, you don’t even have to use time-intensive (expensive) light scattering. Let’s create 3D God Rays in Fusion!
You can find the whole Tutorial + Scene file here.
First we need to create a 3D scene for our Volume since the Volume Fog node needs a World Position Pass to work.
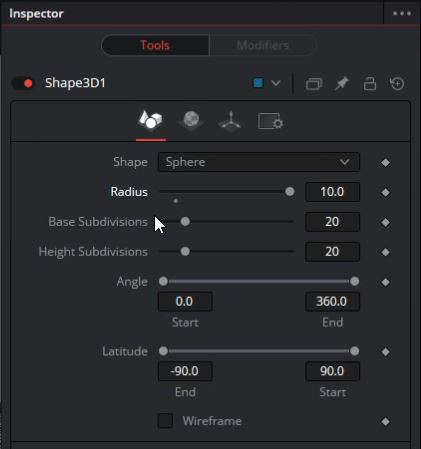
Create a Shape3D Node and set it to Sphere. Increase the Radius until we are completely inside the Sphere. Next, if you have a Camera in your scene like I have here, merge that Sphere with your Camera3D.
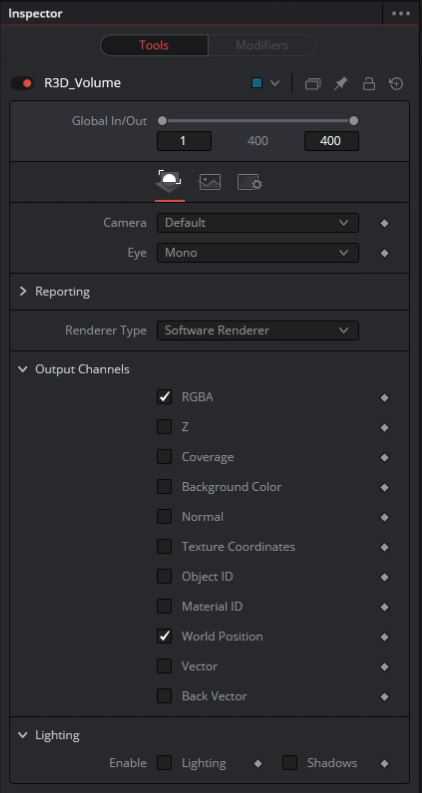
Take a Render3D Node and render your 3D Scene, make sure you have RGBA and World Position checked as the Output Channels.

Now we can add the Volume Fog Node. If we view this you won’t see a difference, this is because we are compositing white fog onto a white image. Go to the Color Tab and check Fog only. You can change the Color and see that we are in fact creating something.
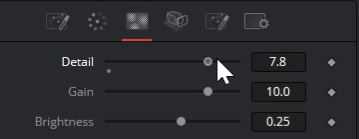
Head into the Noise Tab and increase the Detail, because no Volume is good without some Noise.
If you have any form of Camera in your 3D scene or want to add lights you need to give the Volume Fog access to your 3D scene by piping your last 3D scene Node, in my case this Merge3D, into the pinkish 3D Scene Input on your Volume Fog. Now the Camera movement will line up.
This is already something, but we don’t want a noisy cube. So take your image or animation and pipe that into the Fog Image Input of your Volume Fog. Always watch your memory while working with volumes and usually you won’t need a big resolution, so I will add a Resize Node between my animation and Volume Fog. I scale my animation down from 2000 to 250 pixels.


By default, this isn’t animated so add an Expression to the First Slice Time Control in the Color Tab. Type in “time”. Now it’s animated.
Increase the Samples until you can’t make out any individual slices.
You probably want to line your Volume up to your animation. If your ImagePlane3D is in the Center like mine is, you only need to Unlock the X/Y/Z Scale in your Volumes Shape Controls. Add an Expression to the Z Offset and divide the Z Scale Parameter by 2.

Now our Godrays line up perfectly and we can tweak the look until we’re happy.
I hope you liked this QuickTip which is part of a longer tutorial where we will be creating this animation from scratch. Click here to check it out.


