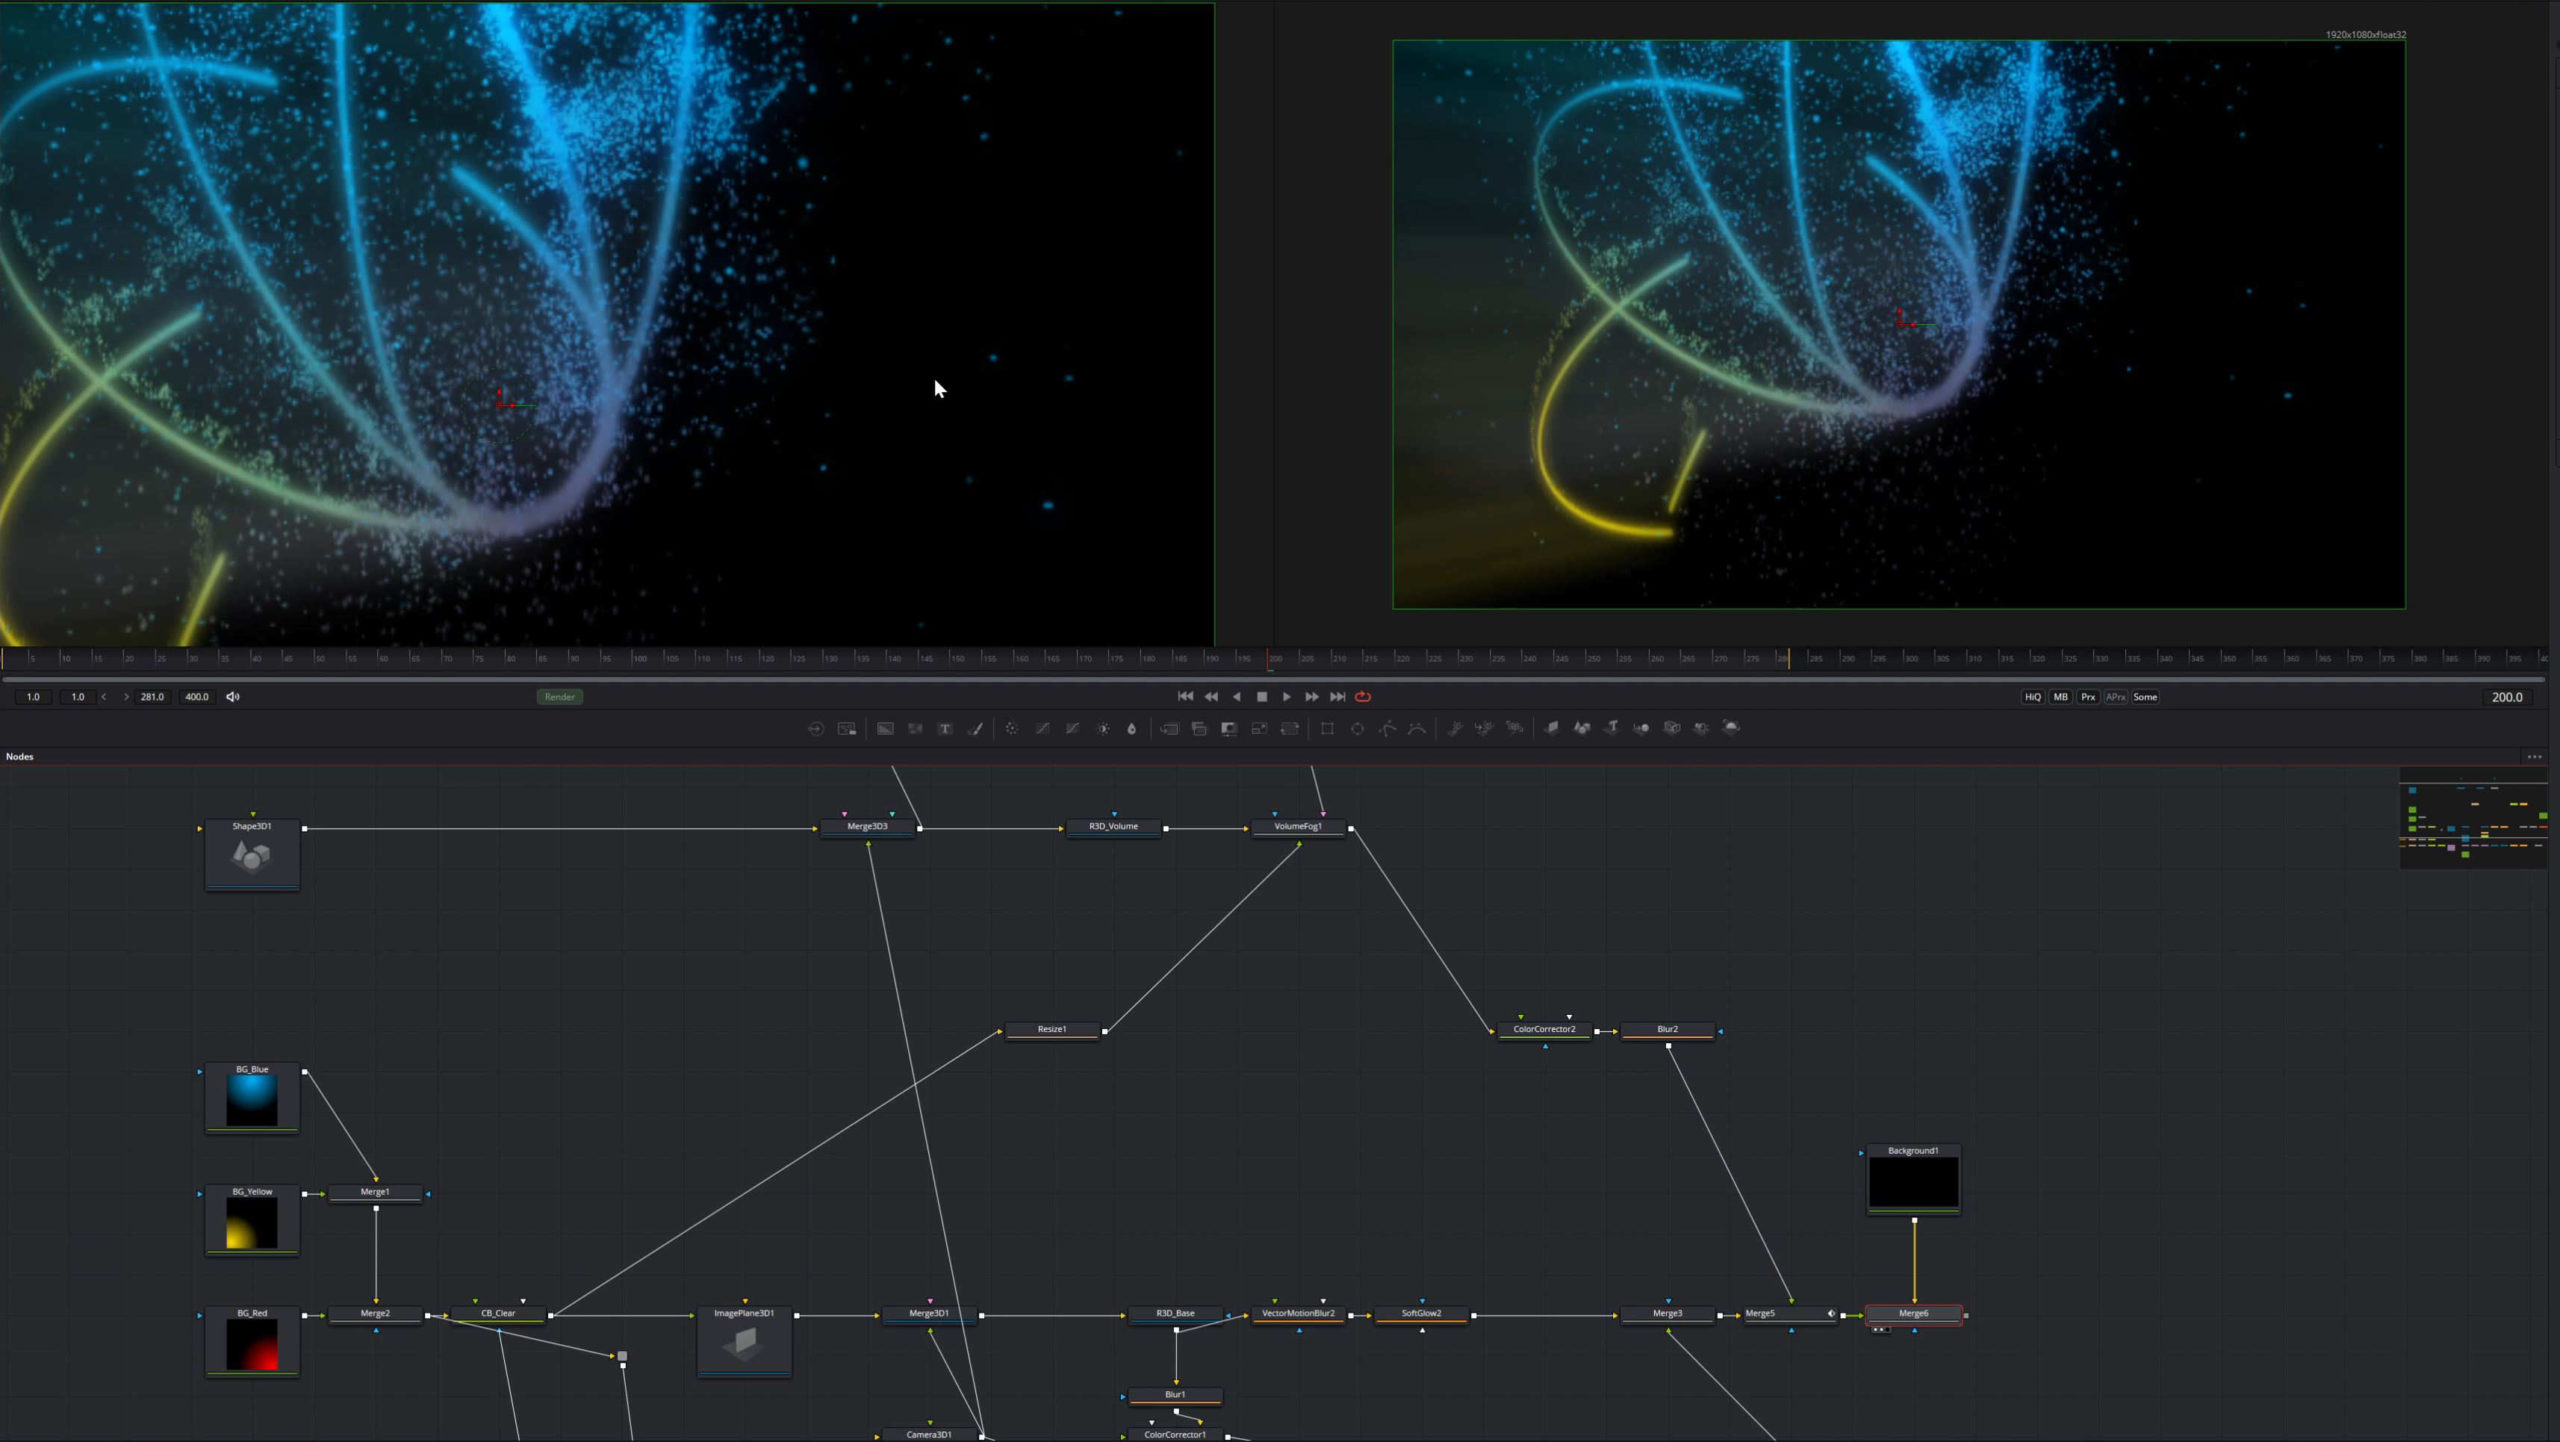
If you want to emit particles from an image in Fusion you could simply use the pImageEmitter Node. But perhaps you already have an existing Emitter in your scene, like I have in the video below, and are happy with your current settings. This is why I am going to show you, how to turn any particle emitter into an image emitter!
You can find the whole Tutorial + Scene file here.
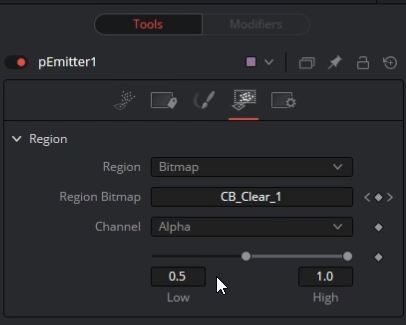
Simply go to the Region Tab on your Emitter and change the Region to Bitmap.
Now, Fusion will create a new Input on your Emitter and the only thing left to do is to pipe your image or image sequence into it.
Changing this to Bitmap will also reveal additional settings in your Region Tab.
These simply change on which Channel Fusion will Emit particles and what the threshold should be. For example, if you have an animation that has a varying degree of transparency, you could specify that Fusion ignores every pixel that has an Alpha Value above 0.5.
On the other hand, setting the threshold to 0 would mean that Fusion would emit particles on your whole image, even if nothing is visible.
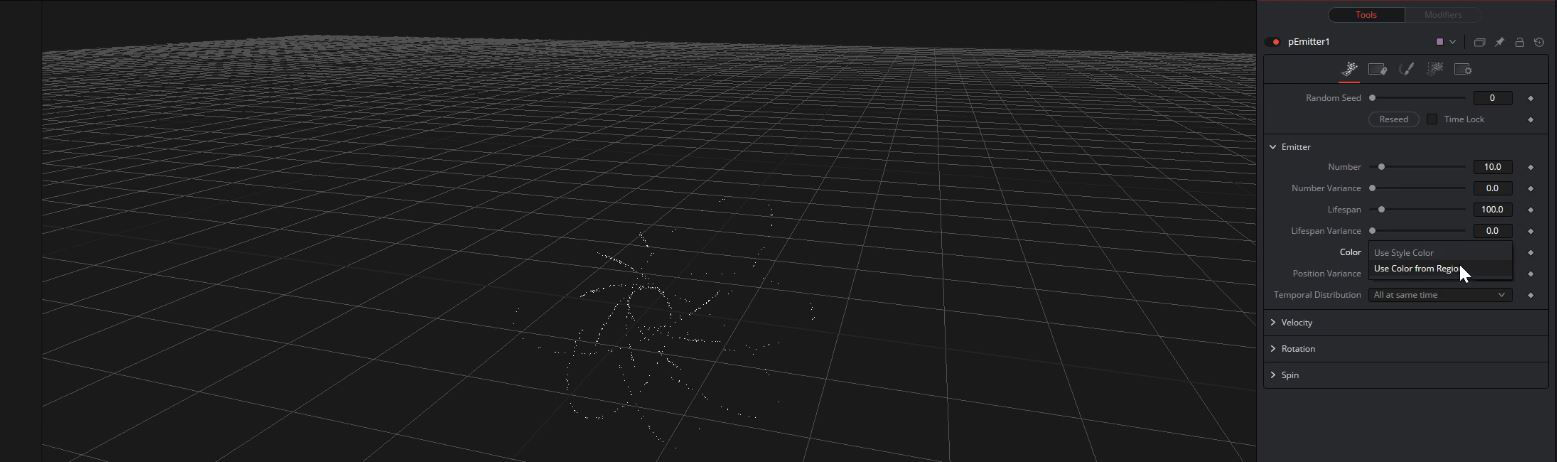
If you are using an Image as an Emitter you probably want to transfer the colors of your image onto your particles as well. For that, go to the first Tab called Controls and change the Color from Use Style Color to Color from Region.
A quick note: If you need to animate the X/Y/Z Position of your Emitter you should use the pImageEmitter instead. The other explanations are the same though.
I hope you liked this QuickTip which is part of a longer tutorial where we will be creating a logo animation from scratch. Be sure to check that out here.